artisanovernight breads
Amazing Overnight Fermentation Bread
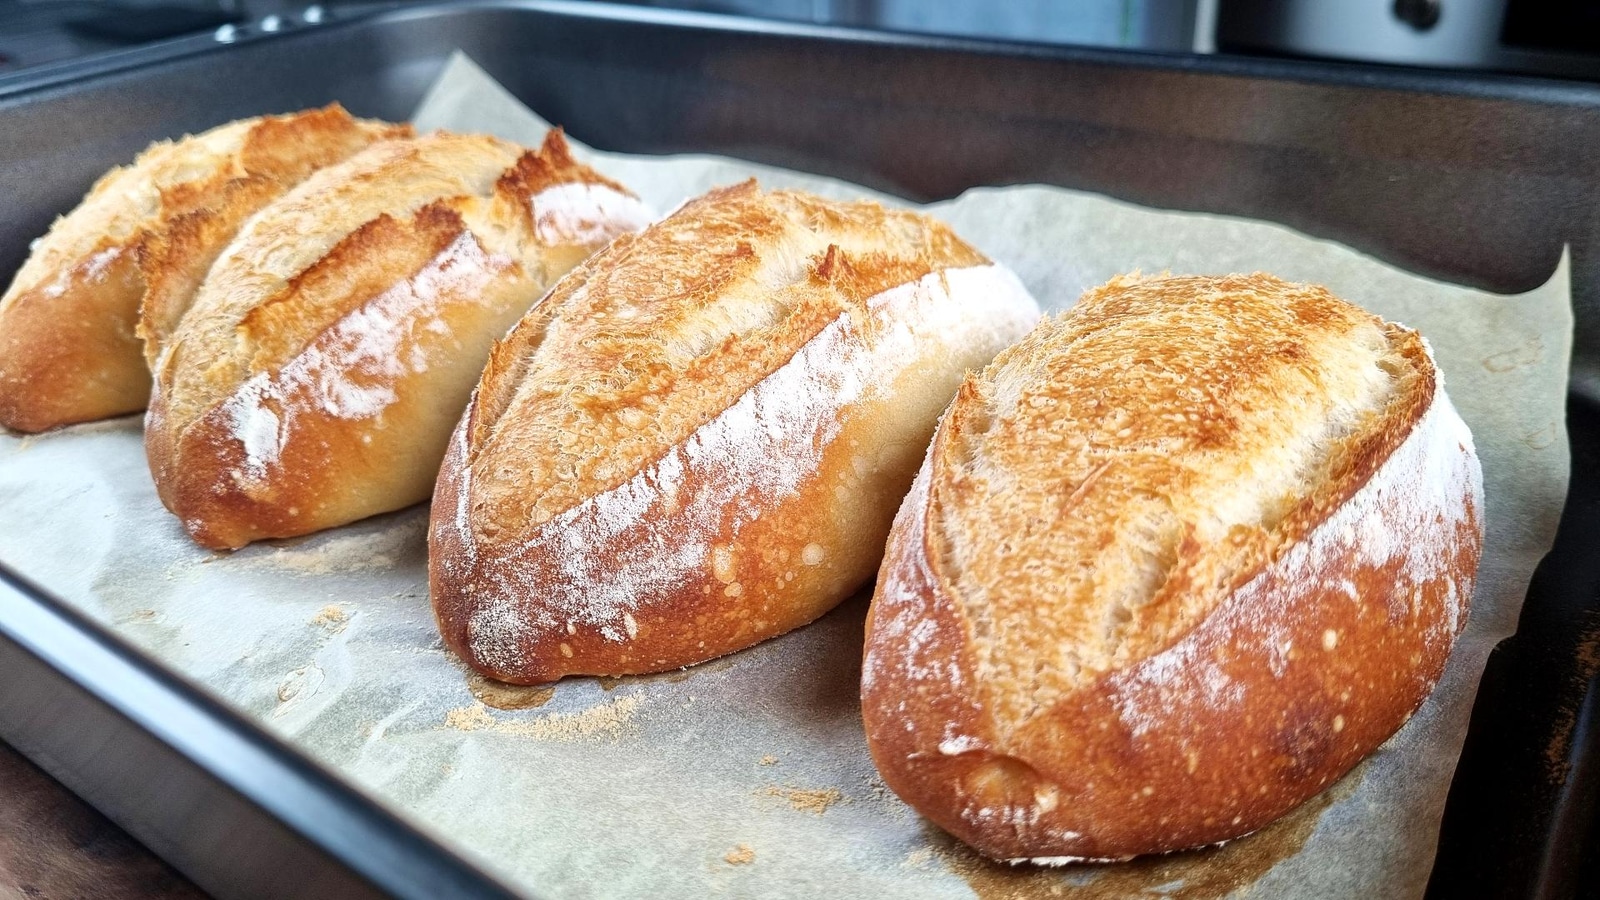
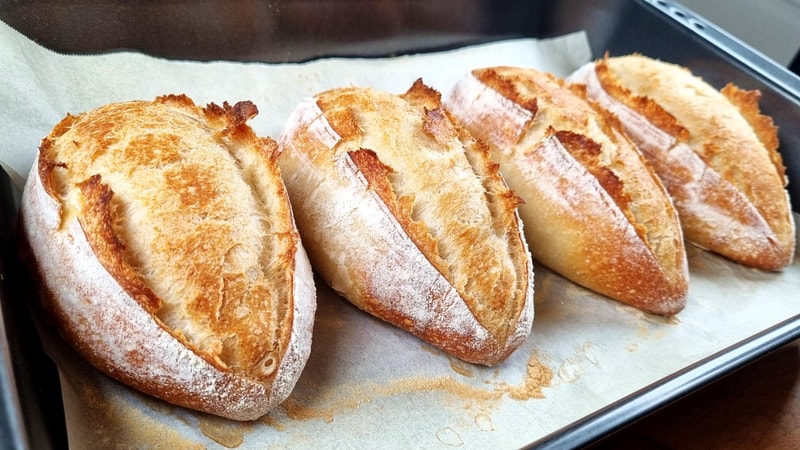
Crispy crust, soft inside - overnight rise enhances flavor and texture
This bread is amazing! With a crispy crust, soft inside, this overnight fermentation method creates perfect texture and taste. The magic happens slowly - overnight rise enhances flavor and texture in ways that quick breads simply can't match. The aroma is incredible! and when you finally taste it, it tastes AMAZING! The patience required for this slow fermentation process is absolutely worth every moment.
Amazing Overnight Fermentation Bread - Perfect Texture and Taste
Watch how overnight fermentation creates incredible flavor and texture
Simple Overnight Ingredients
- 1 cup Water(220 ml)
- ¾ tsp. Fresh yeast(3 g), or ½ tsp. (2 g) dry yeast
- 2 ½ cups Bread flour(320 g)
- 1 tsp. Salt(6 g)
Overnight Fermentation Method
- 1Day 1 - Start the dough: Mix water with fresh yeast (or dry yeast) until completely dissolved. This begins our amazing overnight journey!
- 2Add flour and salt: Add bread flour and salt to the mixture. Mix until there's no more dry flour - just mix, no need to knead!
- 3First rest: Cover and let rest for 30 minutes. This initial rest starts the gluten development process.Timer Available:First Rest (30:00)
- 4Stretch and fold: With a wet hand, stretch the 4 sides of the dough and fold to the center. This gentle technique starts building structure for our amazing bread.
- 5'Lift and slap' technique: Lift the dough and slap it back into the bowl. I call this technique 'lift and slap' - essential for developing the perfect texture.
- 6Second rest: Cover and let rest for 30 minutes.Timer Available:Second Rest (30:00)
- 7Repeat the process: Repeat the steps from before - stretch and fold the 4 sides. Then lift and slap once more. The dough is ready for its overnight transformation.
- 8Overnight fermentation: Let the dough proof overnight in the fridge for best flavor development, or on the counter until it doubles in size if you're in a hurry. This is where the magic happens!Timer Available:Overnight Fermentation (12:00:00)
- 9Day 2 - Final development: After overnight fermentation, stretch and fold the 4 sides once more. The dough looks great! Much smoother and more elastic. Then a gentle lift and slap, or rather gently lift it and place if back.
- 10Bring to room temperature: Allow the dough to come to room temperature. 30 minutes is enough if it was refrigerated overnight.Timer Available:Temperature Rest (30:00)
- 11Prepare for shaping: Sprinkle flour on work surface. Fold the dough so it's easier to cut. Divide into 4 equal parts
- 12Shape the loaves: For each piece: flatten a little, then roll the dough into a ball. Rub against work surface to seal. This will give structure to each loaf and make them hold their shape better.
- 13Rest the dough balls: Let them rest uncovered for 10 minutes. This allows the gluten to relax before final shaping.Timer Available:Shape Rest (10:00)
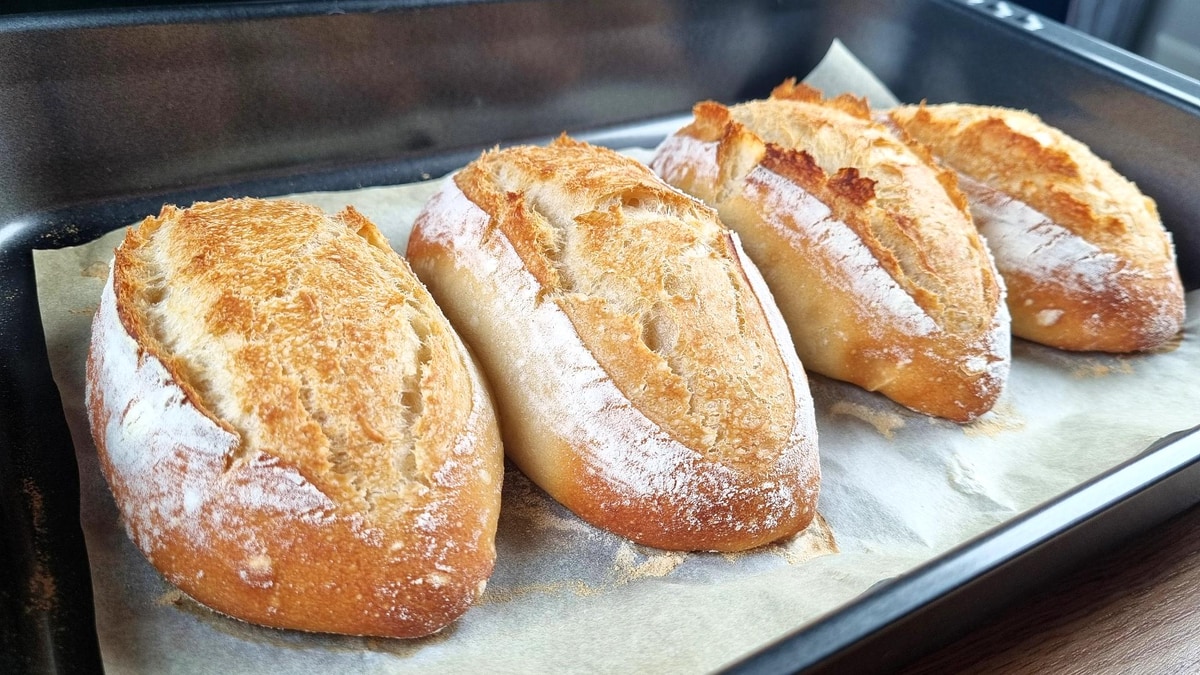
- 14Final shaping: Flatten each loaf, then roll and press down with the tips of your fingers to create the final shape. Pinch the seam to seal it properly, then place on baking tray.
- 15Final proof: Cover with a towel and let rise for 30 minutes. After all that overnight development, this final rise completes the amazing transformation.Timer Available:Final Proof (30:00)
- 16Prepare for baking: Preheat oven to 450°F (230°C). Lightly sprinkle flour over the bread and smooth with your hand - it's optional, but they're so nice to touch!450°F (230°C)
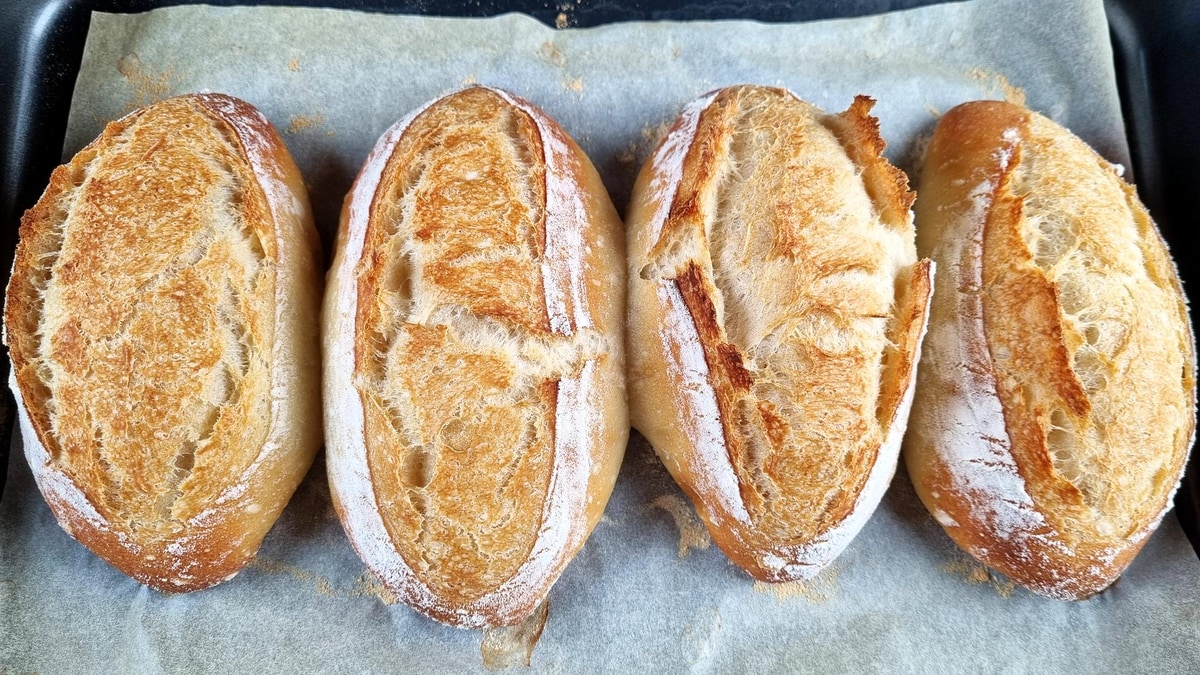
- 17Score the bread: Score each loaf with a sharp blade or knife. These overnight-fermented loaves will have incredible oven spring.
- 18Create steam: Sprinkle a little water around the bread (not directly on them). Cover with another tray of the same size for perfect steam environment.
- 19Steam baking: Bake at 450°F (230°C) for 20 minutes covered. The overnight fermentation creates incredible crust development.450°F (230°C)Timer Available:Steam Baking (20:00)
- 20Final baking: Remove the top tray and bake for 10 more minutes at 390°F (200°C). The aroma is incredible! You can smell the complex flavors developed overnight.390°F (200°C)Timer Available:Final Baking (10:00)
- 21Listen and admire: They sing! The best sound in the world as the crust crackles. Hollow taps mean it's perfectly baked. So crispy and flaky! Let's see the inside - Beautiful! Now the best part - it tastes AMAZING!
Watch the Video Tutorial
See every step in action! Follow along with the complete video guide for perfect results.
You Might Also Like
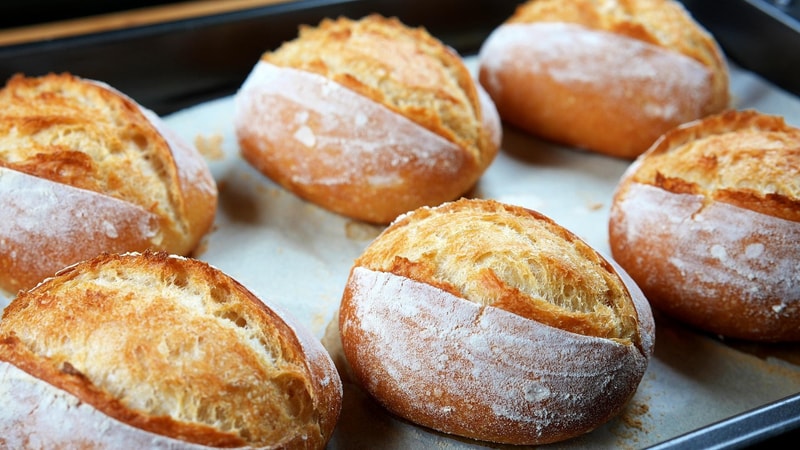
Spelt Crusty Bread Rolls
Crispy outside and soft inside, these easy spelt bread rolls use a no-knead method with simple folds. Great everyday rolls with balanced flavor and texture.
Crispy Biga Bread with Amazing Flavor - Tastes Divine!
Learn how to make biga bread with incredible sourdough-like flavor! This Italian pre-ferment method creates bread that's crispy and flaky outside, amazingly soft inside. The biga starter develops complex flavors over 8-12 hours for divine results.