artisansame day-breadsbeginner friendlymediterranean
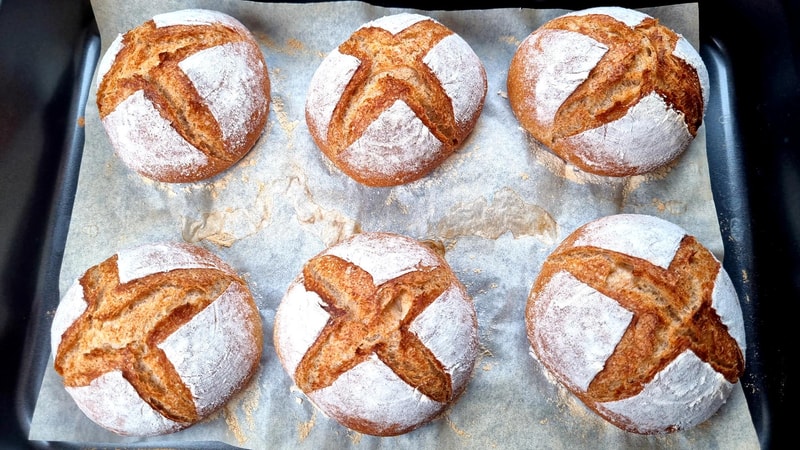
Crispy Semolina Bread Rolls
Crispy, airy, absolutely perfect - semolina makes it even better!
Crispy, airy, absolutely perfect! These semolina bread rolls deliver everything you want in artisan bread - semolina makes it even better with its unique texture and nutty flavor. Watch until the end to learn all its secrets for achieving that perfect contrast of crispy crust and amazingly soft inside. This therapeutic no-knead method uses the gentle 'lift and slap' technique that makes bread-making accessible to everyone while creating professional results.
Crispy Semolina Bread Rolls - Complete Tutorial
Follow along with this detailed video guide to master the art of semolina bread making
Follow along with the video for perfect visual guidance! You'll see exactly how the semolina dough behaves, the precise 'lift and slap' technique, and the therapeutic process from mixing to the final golden rolls. Watch my video for complete step-by-step instructions. The process is so therapeutic, and you'll love hearing them sing as they cool!
Simple Semolina Ingredients
- 1 cup Water(220 ml)
- ¾ tsp. Fresh yeast(3 g, or ½ tsp. (2 g) dry yeast)
- 1⅓ cups Bread flour(170 g)
- 1 cup Semolina(150 g)
- 1 tsp. Salt(6 g)
Step-by-Step Semolina Bread Making
- 1Prepare the yeast: In a large bowl, mix water with fresh yeast (or dry yeast) until completely dissolved.
- 2Combine dry ingredients: Add bread flour, semolina, and salt to the yeast mixture. Mix until there's no more dry flour - just mix, no need to knead! The semolina gives the dough a slightly different texture.
- 3First rest: Cover and let rest for 30 minutes. A timer will remind you of the next step. This allows the flour and semolina to hydrate properly.Timer Available:First Rest (30:00)
- 4Stretch and fold technique: With a wet hand, stretch the 4 sides of the dough and fold to the center. This dough is drier than usual due to the semolina, but this gentle technique develops the perfect structure.
- 5Lift and slap method: Lift the dough and slap it back into the bowl. I call this technique 'lift and slap' - it's essential for building the right texture without traditional kneading.
- 6Second rest: Cover and let rest for 30 minutes. The dough will become much more elastic during this time as the semolina continues to hydrate.Timer Available:Second Rest (30:00)
- 7Repeat the process: Stretch and fold the 4 sides again. The dough is now much more elastic! Lift and slap once more. The semolina has transformed the texture beautifully.
- 8Final rise: Now the dough is ready for the final rise. Let rise until it doubles in size - it usually takes about 2 hours.Timer Available:Final Rise (2:00:00)
- 9Prepare for shaping: Sprinkle flour on work surface and fold the dough so it's easier to cut. Bubbles are always a good sign!
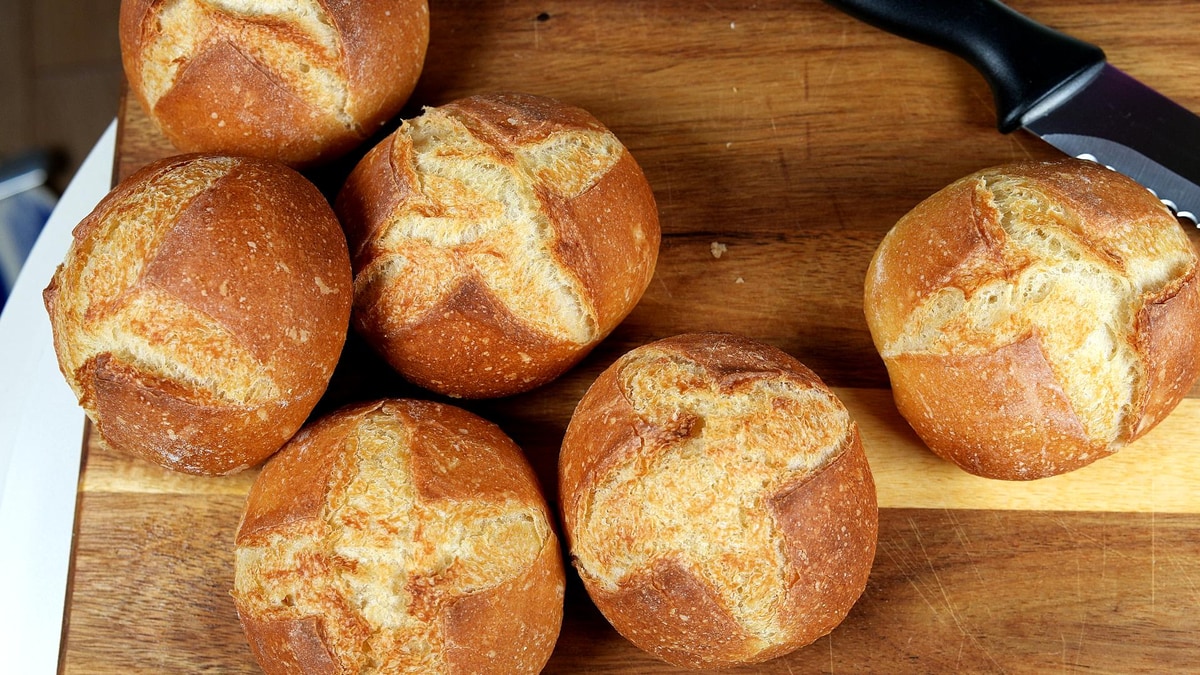
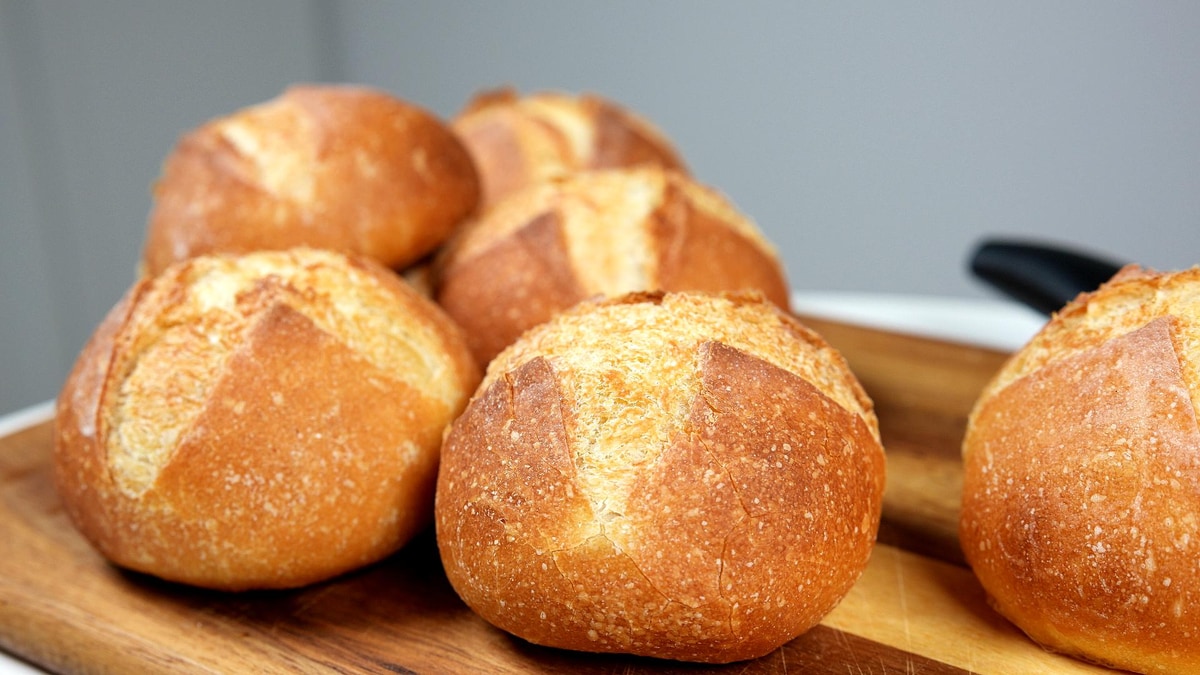
- 10Divide into portions: Divide into 6 equal parts. Each piece will become one beautiful semolina roll with incredible flavor and texture.
- 11Shape the rolls - Method 1: Brush off any extra flour. Flatten each piece gently, then fold into a ball. Pinch to seal and rub against work surface to seal properly. Set aside while shaping the others.
- 12Shape the rolls - Method 2: For longer pieces, flatten and roll lengthwise, then fold into a ball and seal. Both methods create beautiful rolls.
- 13First shape rest: Let them rest for 10 minutes uncovered. This relaxes the gluten for easier final shaping.Timer Available:Shape Rest (10:00)
- 14Final shaping: Fold them to tighten the surface - this will help them maintain their shape during baking. Pinch to seal and move to the baking tray.
- 15Final proof: Cover with a towel and let rise for 30 minutes.Timer Available:Final Proof (30:00)
- 16Prepare for baking: Preheat oven to 430°F (220°C). Score the bread with a sharp blade or knife - it will help them expand nicely during baking.430°F (220°C)
- 17Create steam: Sprinkle a little water around the bread for steam. Cover with another tray of the same size to create the perfect steam environment.
- 18Steam baking: Bake at 430°F (220°C) for 20 minutes covered. This develops that incredible crispy crust that pairs perfectly with the semolina texture.430°F (220°C)Timer Available:Steam Baking (20:00)
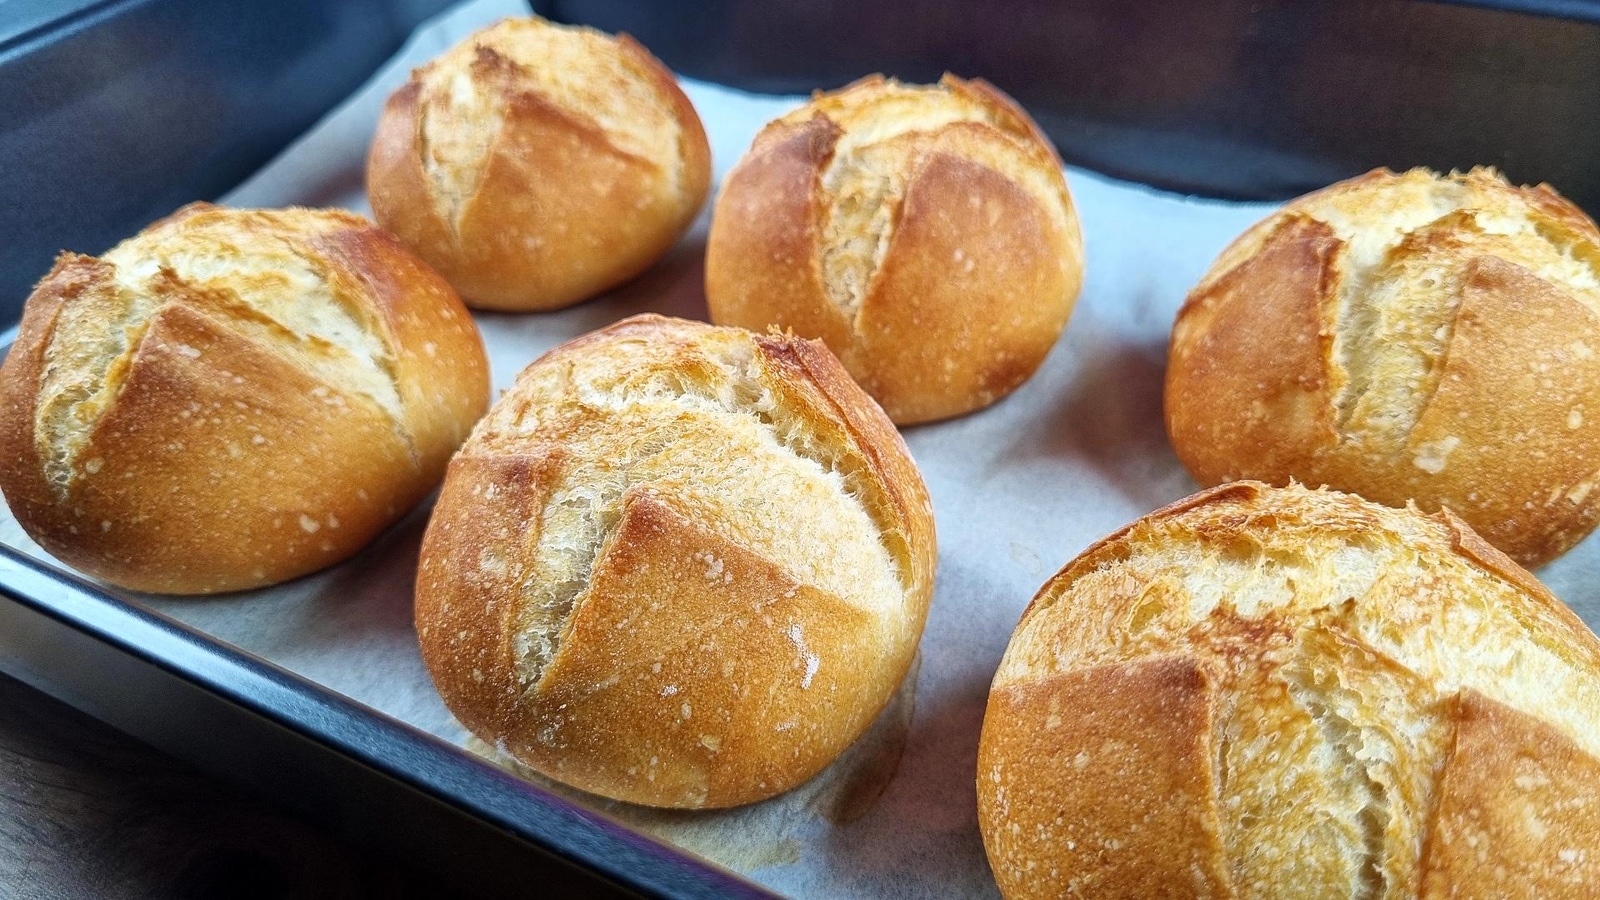
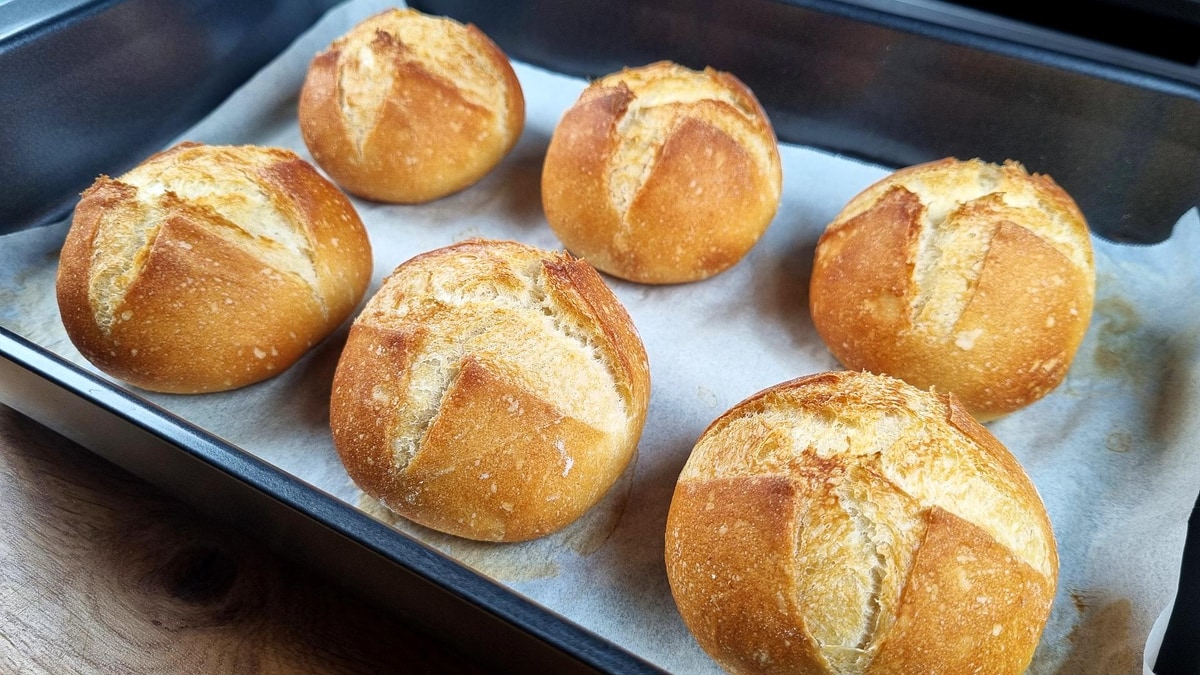
- 19Final baking: Remove the top tray and bake for 10 more minutes. They look great! The semolina creates an amazing golden color and unique texture.Timer Available:Final Baking (10:00)
- 20Listen to them sing: They sing as small cracks form in the crust - the best song in the world! Hollow taps mean they're perfectly baked.
Watch the Video Tutorial
See every step in action! Follow along with the complete video guide for perfect results.
You Might Also Like
Rye Bread Rolls - Crispy Crust & Incredibly Soft
Amazing rye bread rolls with a crispy crust and incredibly soft inside. Rye flour adds a delightful aroma and beautiful color. This therapeutic bread-making process creates perfect same-day rolls.
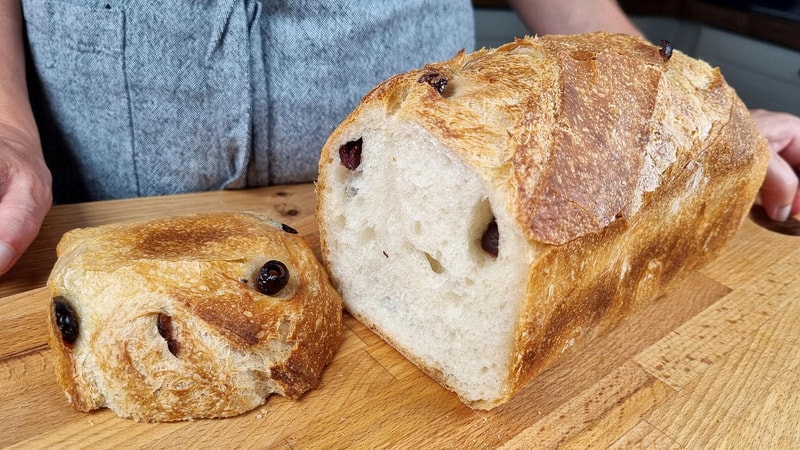
Olive Yogurt Sandwich Bread
Thin, crispy crust, soft as a feather inside with warm, tender crumb and olives tucked inside. My sandwiches have never tasted better! All of this without any additives.