artisansame day-breadsbeginner friendly
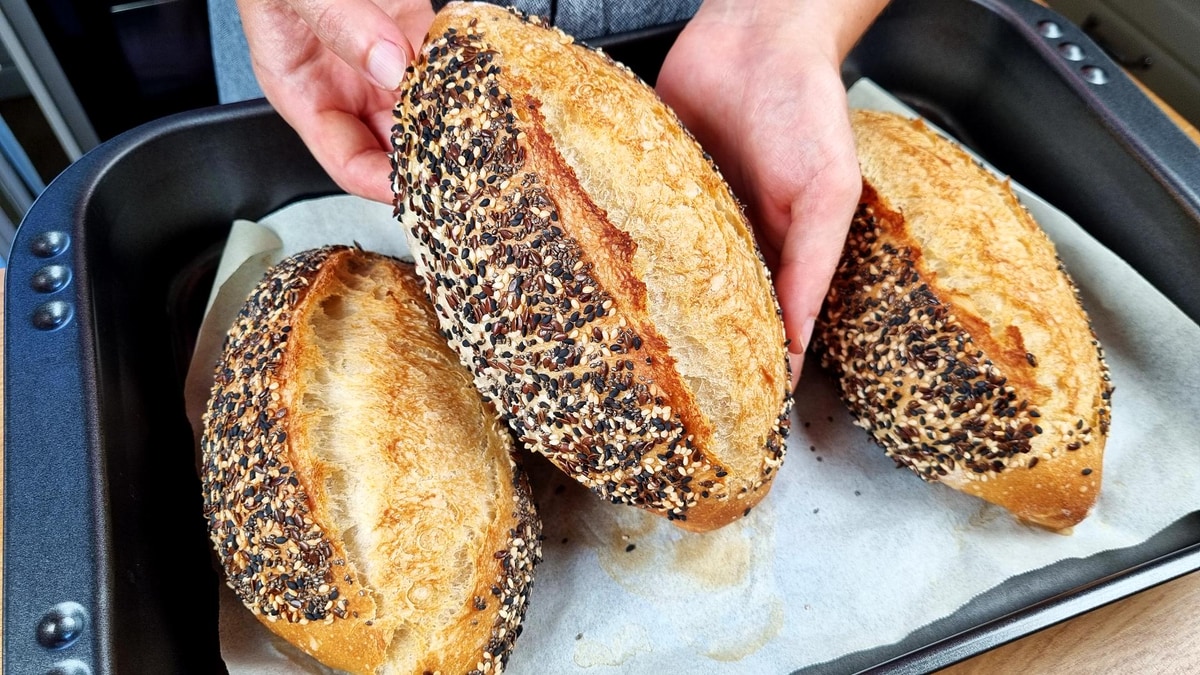
Listen to This Crust Singing!
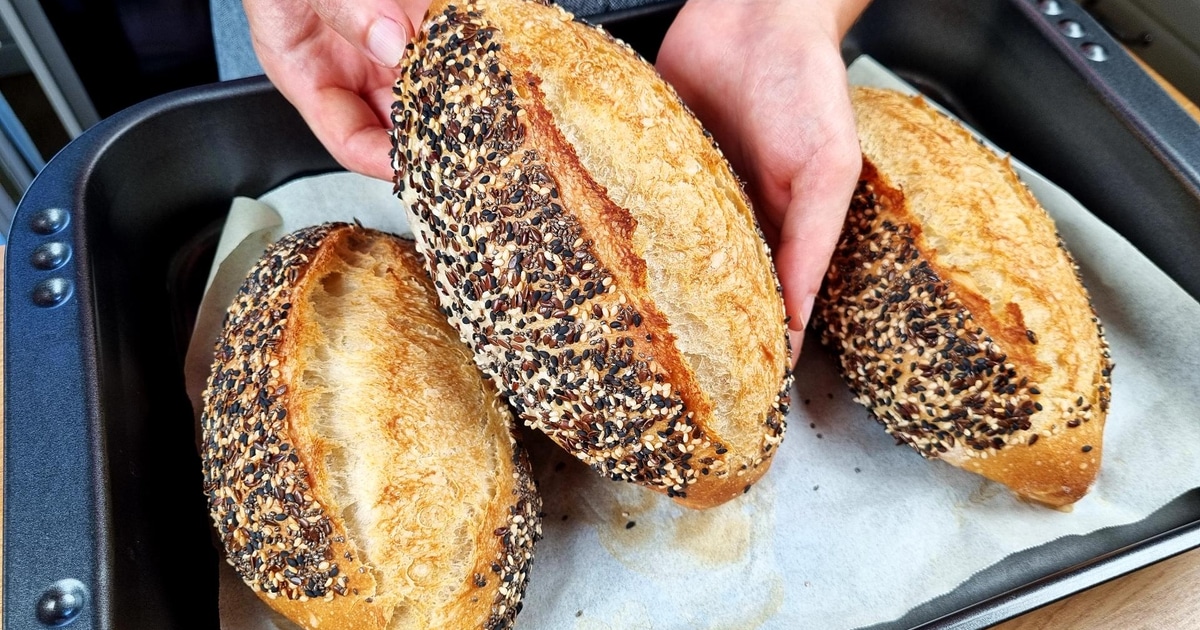
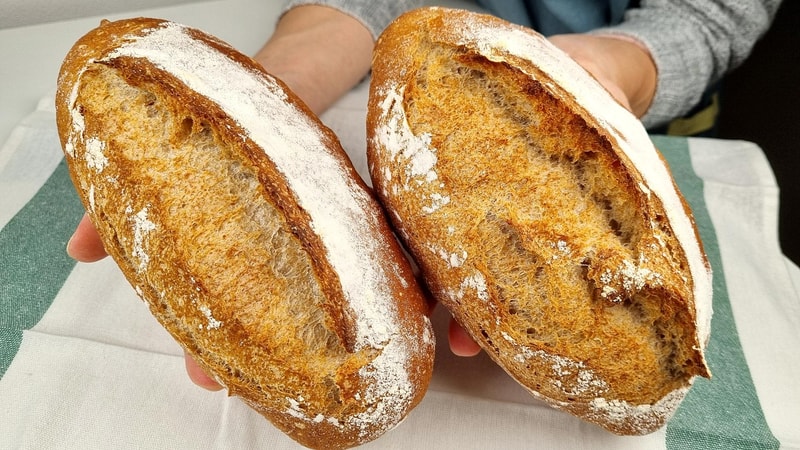
Crispy, airy, absolutely perfect seeded artisan bread
Just listen to this crust singing! This incredible seeded artisan bread is crispy, airy, absolutely perfect with a stunning mix of seeds that creates both amazing texture and visual appeal. The inside is so soft! while the exterior develops that signature crispy crust that literally sings as it cools. This therapeutic no-knead method makes bread-making accessible to everyone, and the beautiful seed coating adds nutritious crunch to every bite.
Crispy Singing Seeded Artisan Bread - No-Knead Method
Follow along with this detailed video guide to see exactly how to create this amazing seeded bread with the perfect crispy crust
Follow along with the video for a complete visual guide! You'll see exactly how the dough should look at each stage, the proper stretch and fold technique, and how to achieve that perfect seed coating. Watch as the bread transforms from simple ingredients into a masterpiece that literally sings with every crack of the cooling crust. Watch the full video for step-by-step guidance!
Simple Base Ingredients
For the dough
- 1 cup Water(220 ml)
- ¾ tsp. Fresh yeast(3 g, or ½ tsp. (2 g) dry yeast)
- 2 ½ cups Bread flour(320 g)
- 1 tsp. Salt(6 g)
For the seed mix
- 2 tbsp. Sesame seeds
- 2 tbsp. Quinoa
- 2 tbsp. Black sesame seeds
- 2 tbsp. Flaxseed
Step-by-Step Seeded Bread Method
- 1Dissolve the yeast: Mix water with fresh yeast (or dry yeast) until completely dissolved. This ensures an even distribution.
- 2Add flour and salt: Add bread flour and salt to the mixture. Mix until there's no more dry flour - just mix, no need to knead! The dough will be soft and manageable.
- 3First rest: Cover and let rest for 30 minutes. This allows the flour to hydrate and begin developing gluten naturally.Timer Available:First Rest (30:00)
- 4Stretch and fold technique: With a wet hand, stretch the 4 sides of the dough and fold to the center. This gentle technique develops the perfect gluten structure.
- 5Lift and slap: Lift the dough and slap it back into the bowl. I call this technique 'lift and slap' - it's essential for building strength in the dough.
- 6Second rest: Cover and let rest for 30 minutes. You'll notice the dough becoming much more elastic during this time.Timer Available:Second Rest (30:00)
- 7Repeat the process: Stretch and fold the 4 sides again. The dough is now much more elastic! Lift and slap once more. Now the dough is ready for the final rise.
- 8Final rise: Let rise until it doubles in size - it usually takes about 2 hours, but depending on your kitchen temperature it can vary.Timer Available:Final Rise (2:00:00)
- 9Prepare the seed mix: While the dough rises, prepare your seed mixture. Combine sesame seeds, quinoa, black sesame seeds, and flaxseed - 2 tablespoons of each. Mix well for even distribution.
- 10Prepare for shaping: Sprinkle flour on work surface. The dough has risen nicely! Fold the dough so it's easier to cut. Divide into 3 equal parts.
- 11Shape the loaves: For each piece: flatten very gently, then fold the dough into a tight ball. Follow my movements in the video for the best technique. Rub against work surface to seal.
- 12Rest the shaped loaves: Let them rest for 10 minutes uncovered. This relaxes the gluten for easier final shaping.Timer Available:Shape Rest (10:00)
- 13Final shaping: Dust with flour and gently flatten each piece. Roll and press down with your fingers to create the final loaf shape. Seal the edge by pinching it closed.
- 14Add the seed coating: Brush each loaf with water - the water will make the seeds stick to the bread perfectly. Coat generously with the prepared seed mixture, pressing gently to ensure they adhere.
- 15Final proof: Cover with a towel and let rise for 30 minutes. The seeds create a beautiful textured surface as the dough expands.Timer Available:Final Proof (30:00)
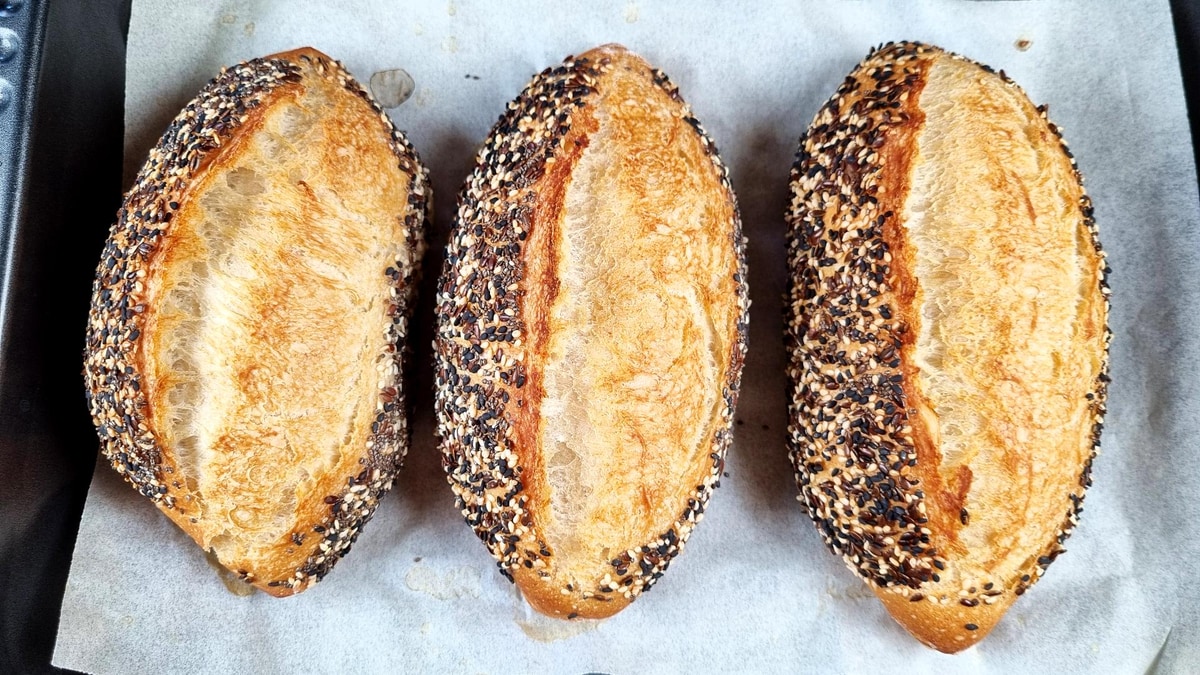
- 16Prepare for baking: Preheat oven to 430°F (220°C). Score the bread with a sharp blade or knife - the seeds make the scoring tricky, but it doesn't have to be perfect.430°F (220°C)
- 17Create steam: Sprinkle a little water around the bread - just a few drops for steam. Cover with another tray of the same size to create the perfect steam environment.
- 18Steam baking: Bake at 430°F (220°C) for 20 minutes covered. This develops that incredible singing crust.430°F (220°C)Timer Available:Steam Baking (20:00)
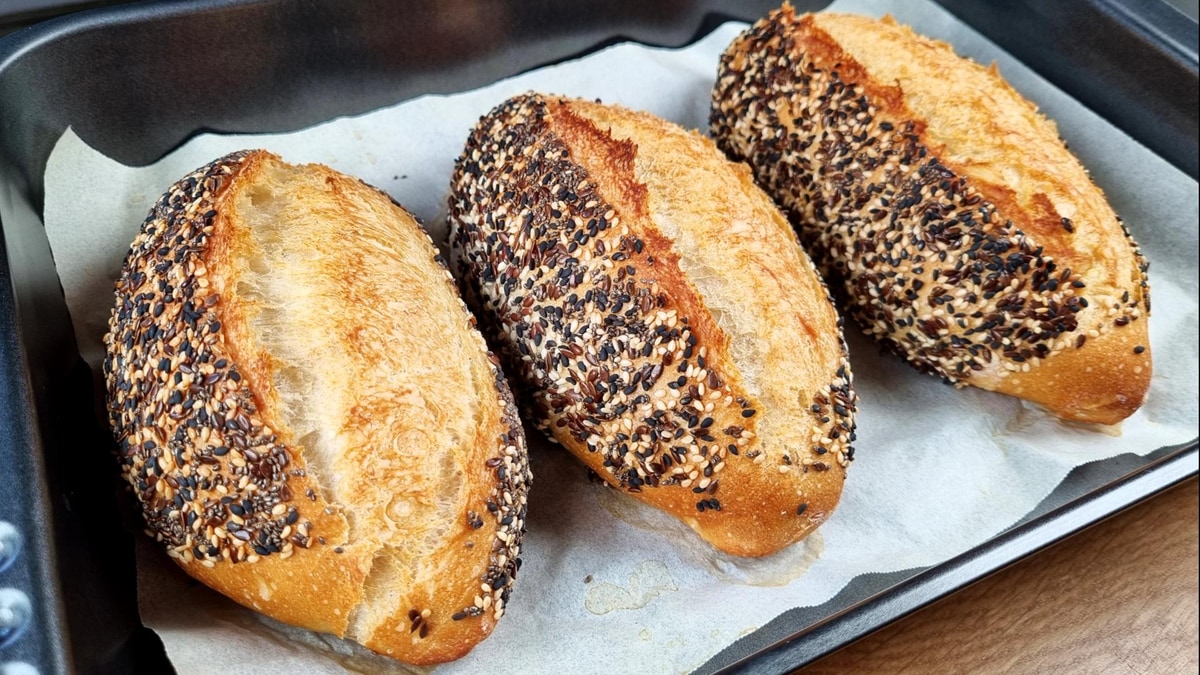
- 19Final baking: Remove the top tray and bake for 10 more minutes. They look great! The seed coating should be golden and aromatic.Timer Available:Final Baking (10:00)
- 20Enjoy! Listen to the crust sing, and after the bread has cooled down a little, spread a little butter on it and let it transport to a better place.
Watch the Video Tutorial
See every step in action! Follow along with the complete video guide for perfect results.
You Might Also Like
Light Whole Wheat Bread - 50/50 Blend, Soft Like a Feather
Crispy crust, so soft inside! Equal parts bread flour and whole wheat flour create the perfect balance - light like a feather with wholesome nutrition.

Perfect Whole Wheat Yogurt Sandwich Bread
Amazing sandwich bread with thin crispy crust and cloud-soft interior. Made with yogurt and whole wheat flour for the best sandwiches ever!