soft breadssandwich breadseveryday breadssame day-breadsbeginner friendly

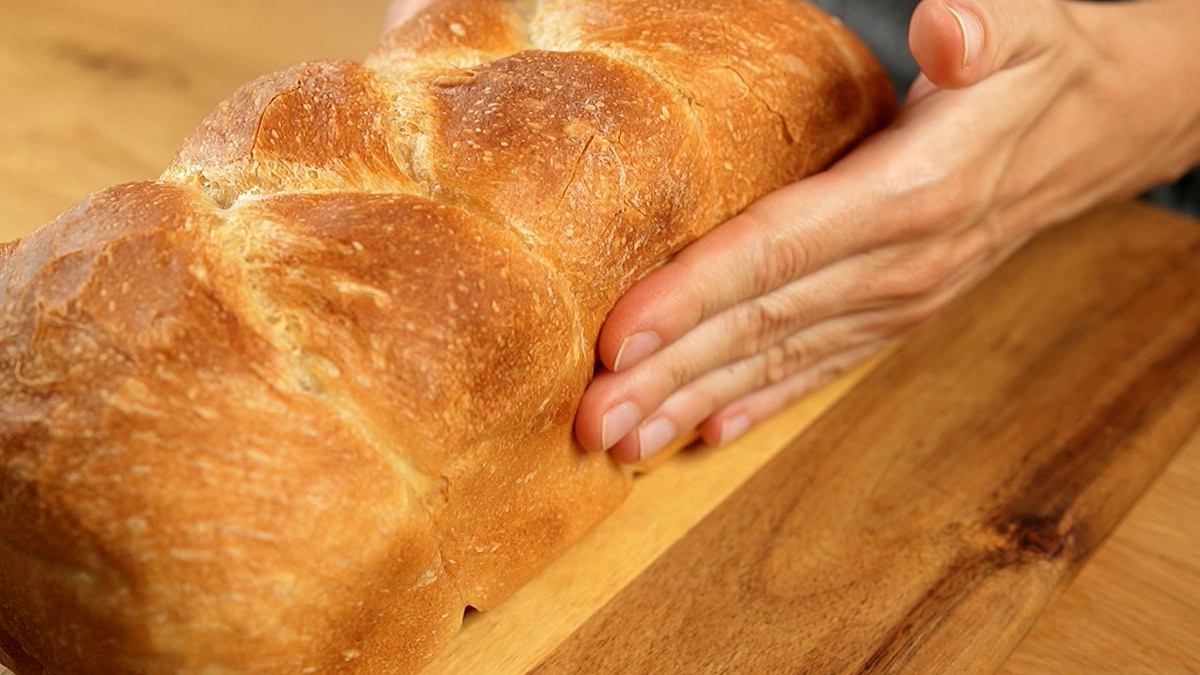
Soft Braided Yogurt Bread
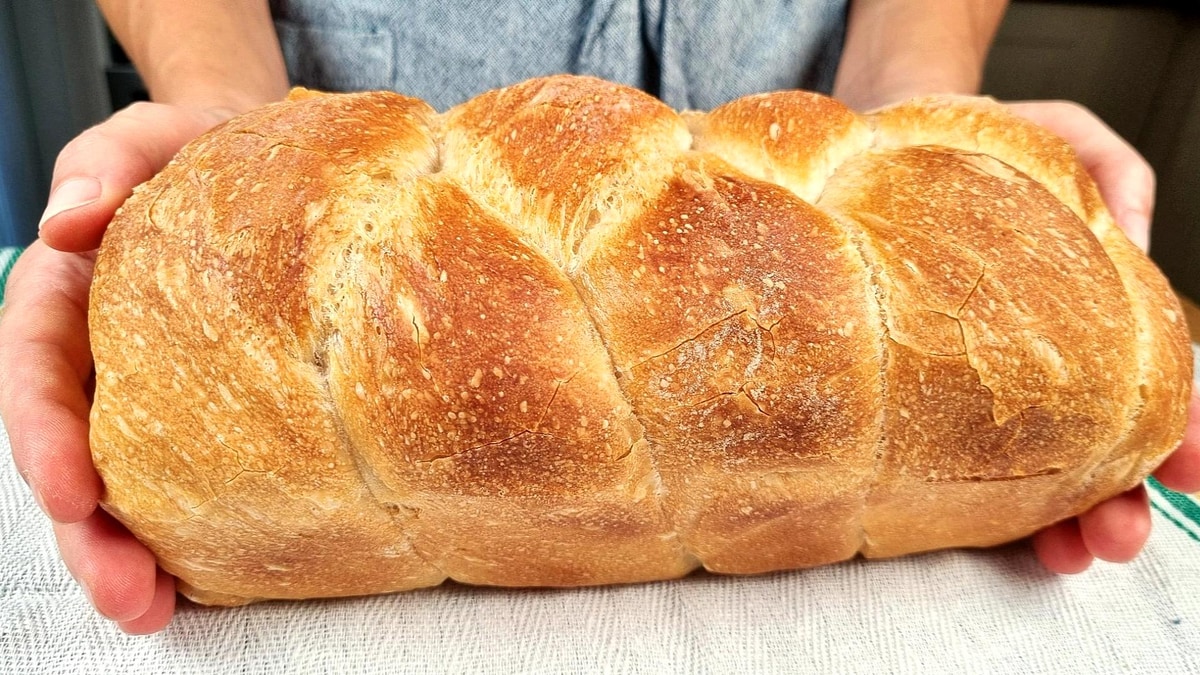
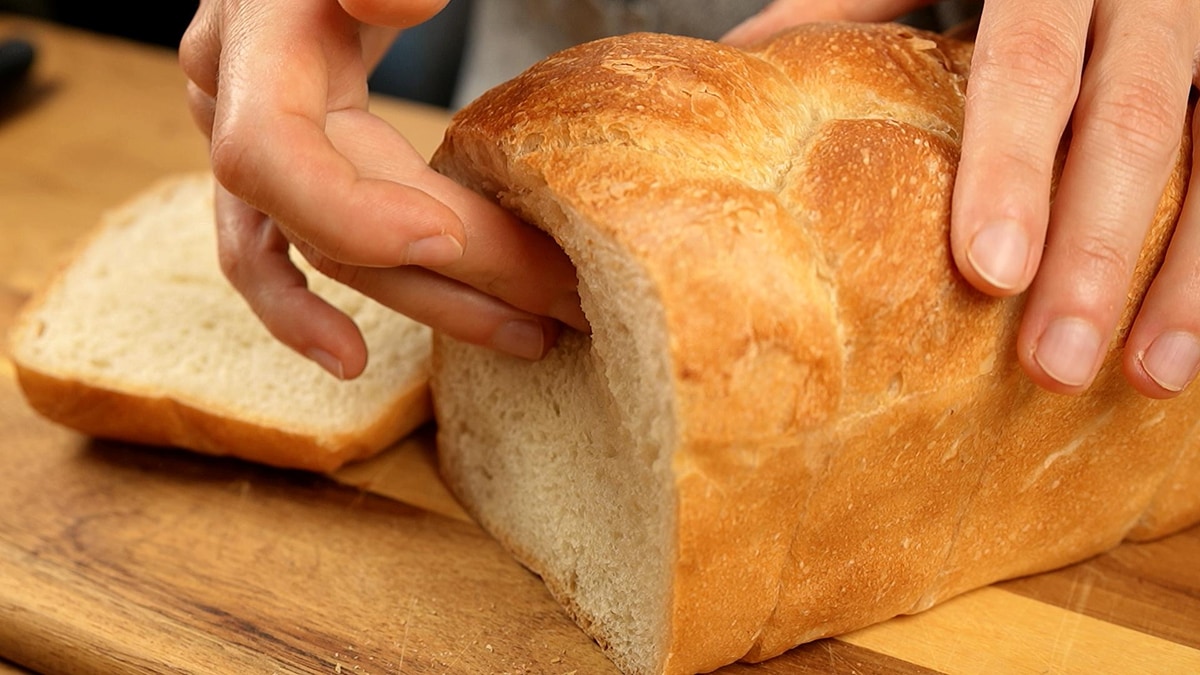
Thin, crispy crust with soft-as-a-feather inside - perfect for sandwiches
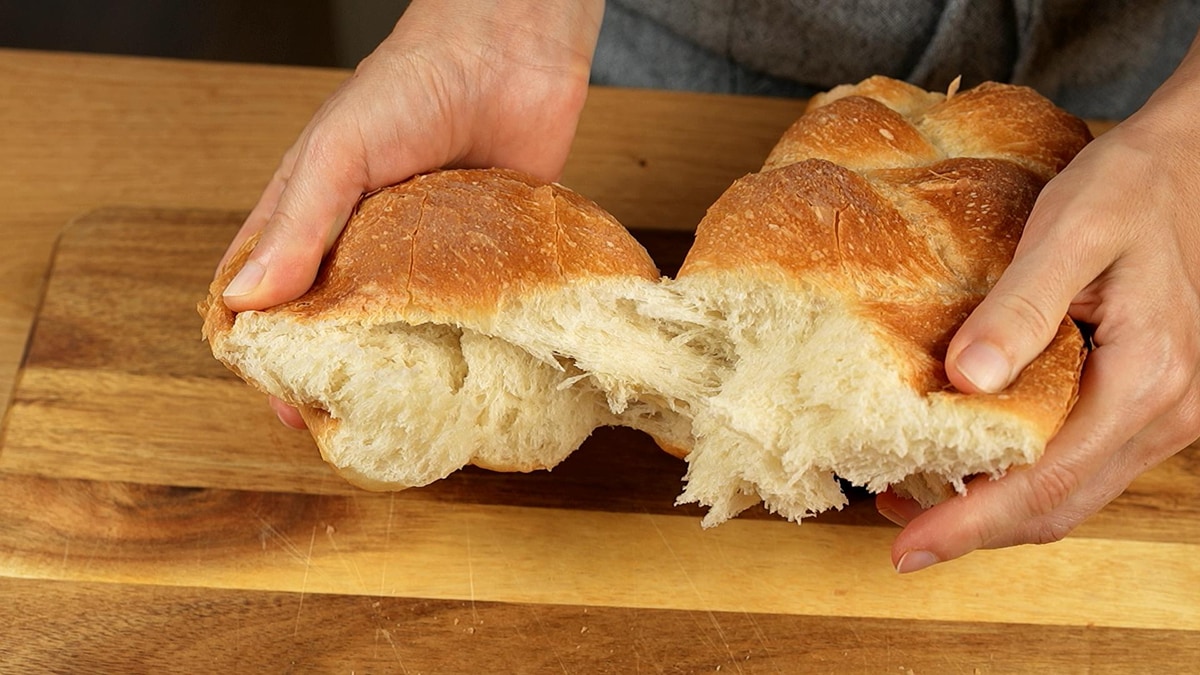
This bread is incredibly satisfying to make! With its beautiful braided shape and perfect texture contrast - thin, crispy crust on the outside and soft as a feather inside - this yogurt bread has become my go-to for sandwiches. The addition of plain yogurt creates an incredibly soft crumb that stays fresh longer, while the unique covered baking technique produces the thinnest, most delicate crispy crust you've ever experienced. My sandwiches have never tasted better!
Soft Braided Yogurt Bread - Perfect Sandwich Bread
Follow along with this detailed video guide to master the braiding technique and achieve perfect results
Follow along with the video for a visual guide! You can see exactly how to create the three-strand braid and witness the amazing texture transformation from mixing to the final bake. Watch the full video at [https://youtu.be/6dWh8Di9xkE](https://youtu.be/6dWh8Di9xkE) to learn all the secrets for making this incredibly soft braided yogurt bread with its signature crispy crust. The braiding process is simpler than it looks, and the results are absolutely stunning!
Simple Yogurt Bread Ingredients
- ⅔ cup Water(160 ml)
- ¼ cup Plain yogurt(60 g - any yogurt will do)
- 1 tsp. Fresh yeast(3 g, or ½ tsp. (2 g) dry yeast)
- 2 ½ cups Bread flour(320 g)
- 1 tsp. Salt(6 g)
Making the Dough
- 1Mix the wet ingredients: In a large bowl, combine water with plain yogurt and fresh yeast (or dry yeast). Mix well until the yeast is completely dissolved.
- 2Add dry ingredients: Add bread flour and salt to the wet mixture. Mix until there's no more dry flour visible - just mix, no need to knead!
- 3First rest: Cover and let rest for 30 minutes. A timer will remind you of the next step.Timer Available:First Rest (30:00)
- 4Stretch and fold technique: With a wet hand, stretch the 4 sides of the dough and fold to the center. This develops the perfect gluten structure without kneading.
- 5Lift and slap: Lift the dough and slap it back into the bowl. I call this technique 'lift and slap' - it strengthens the dough efficiently.
- 6Second rest: Cover and let rest for 30 minutes. The dough will become much more elastic during this time.Timer Available:Second Rest (30:00)
- 7Repeat stretch and fold: Stretch and fold the 4 sides again. Now the dough is much more elastic! Lift and slap once more.
- 8Final rise: Let rise until it doubles in size - usually about 2 hours. The dough will develop beautiful airy structure thanks to the yogurt.Timer Available:Final Rise (2:00:00)
Shaping and Braiding
- 1Prepare for shaping: Sprinkle flour on work surface. Fold the dough in half to make it easier to handle. Bubbles are always a great sign of good fermentation!
- 2Divide the dough: Divide into 3 equal parts. Each piece will become one strand of the beautiful braid.
- 3Pre-shape the strands: For each piece, brush off any excess flour. Gently flatten the dough piece, then roll it into a baguette shape. Seal the edge by pinching it closed. Set aside and repeat with remaining pieces.
- 4Rest the pre-shaped strands: Let them rest for 10 minutes uncovered. This relaxes the gluten, making the final shaping much easier.Timer Available:Pre-shape Rest (10:00)
- 5Roll the ropes: Roll each dough piece into a long rope, working from the center outward. The dough is relaxed and easy to shape now. Make the ropes about 14-16 inches long.

- 6Arrange and start braiding: Arrange the three ropes side by side on your work surface. Join the ropes at one end by pinching them together.

- 7Three-strand braid: Bring the right side between the other two, then left side between the other two. Repeat until the braid is done - right side between the other two, then left again. The process is very simple once you get the rhythm!

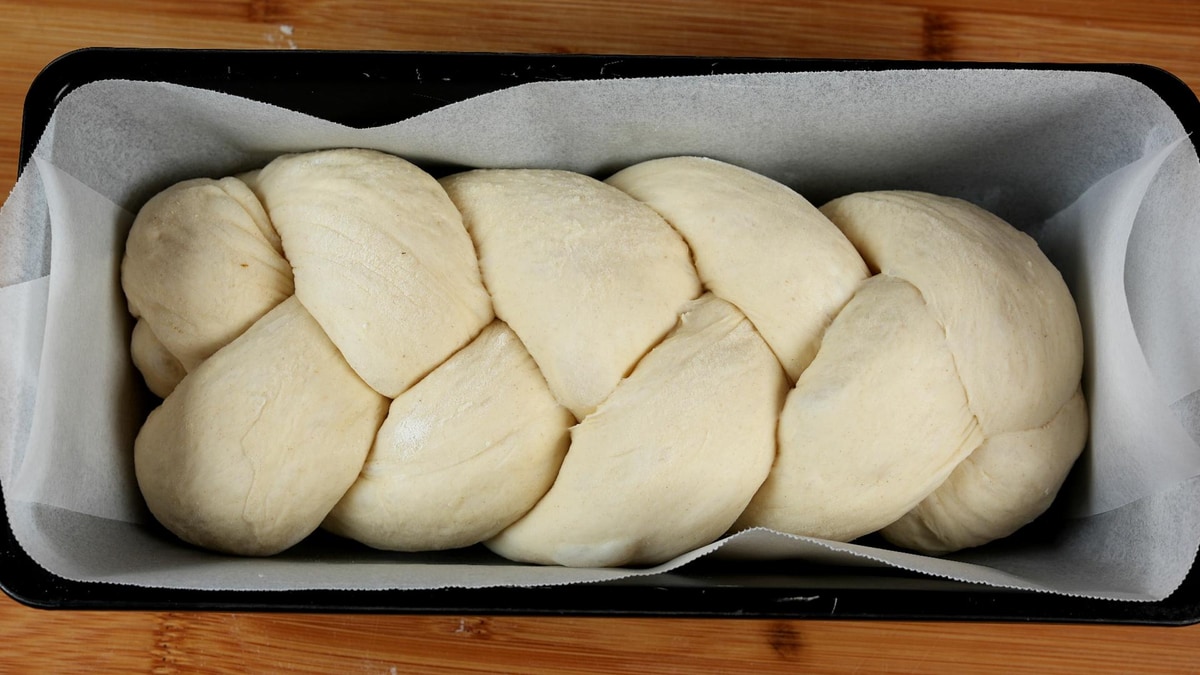
- 8Finish the braid: When you reach the end, pinch the strands together to seal. The braid should be even and beautiful.
- 9Transfer to loaf pan: Line your loaf pan with baking paper to prevent sticking. Carefully move the braided dough to the prepared pan.

- 10Final proof: Cover with a towel and let rise for an hour. It should double in size and feel light and puffy when ready.Timer Available:Final Proof (1:00:00)
Baking
- 1Prepare for baking: Preheat oven to 430°F (220°C). Brush the braided loaf generously with water - this will make the crust extra thin and crispy.430°F (220°C)
- 2The secret trick: Cover with another loaf pan of the same size, placed upside down over the dough. This creates the perfect baking environment for an ultra-thin, crispy crust.
- 3Covered baking: Bake at 430°F (220°C) for 25 minutes covered. The enclosed environment creates steam naturally from the dough.430°F (220°C)Timer Available:Covered Baking (25:00)
- 4Remove the top pan: Remove the covering pan. The bread should be set but still a little pale.
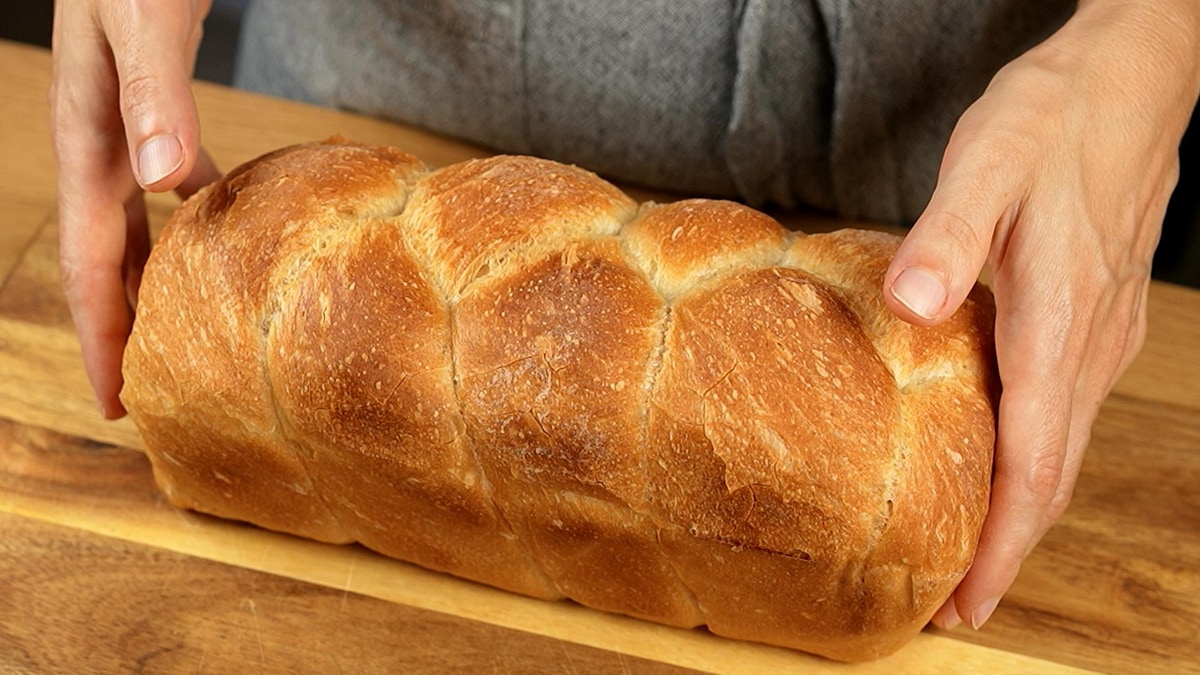
- 5Final baking: Bake for 10 more minutes uncovered. The braid will turn golden and the aroma is incredible!Timer Available:Final Baking (10:00)
- 6Cool and listen: Looking nice! You can hear it sing as small cracks form on the cooling crust - the best song in the world! The thin crust creates those satisfying crackling sounds as the bread cools.
Watch the Video Tutorial
See every step in action! Follow along with the complete video guide for perfect results.
You Might Also Like
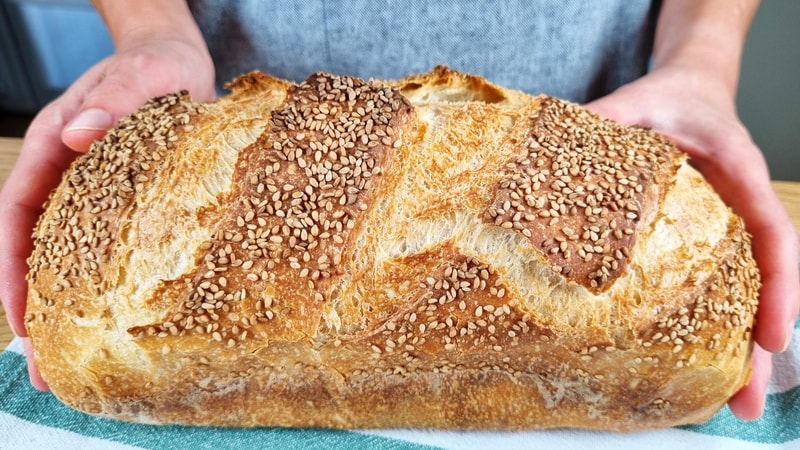
Super Thin Crispy Crust Sandwich Bread
The crust is super thin and crispy while the inside is as soft as a cloud! All of that without any additives. My sandwiches never tasted better with this magical yogurt-enriched bread.
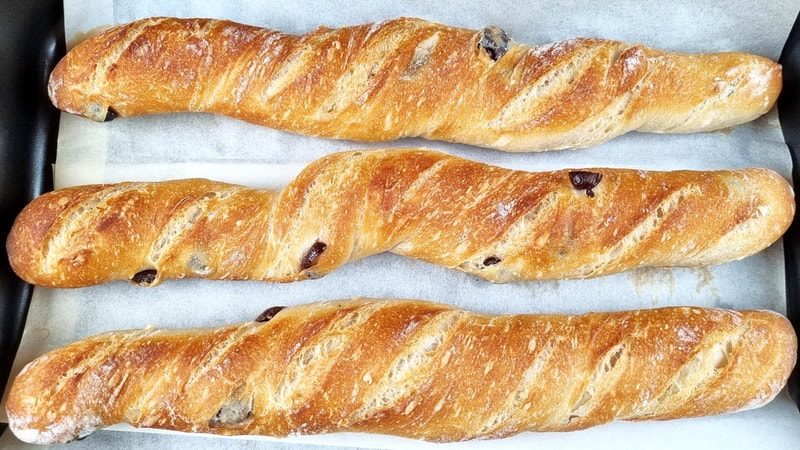
Twisted Olive Baguettes
Amazing twisted baguettes with olives featuring a crispy, flaky crust and soft crumb. Perfect for olive bread lovers with a beautiful twisted presentation.