sandwich breadseveryday breadsbeginner friendly
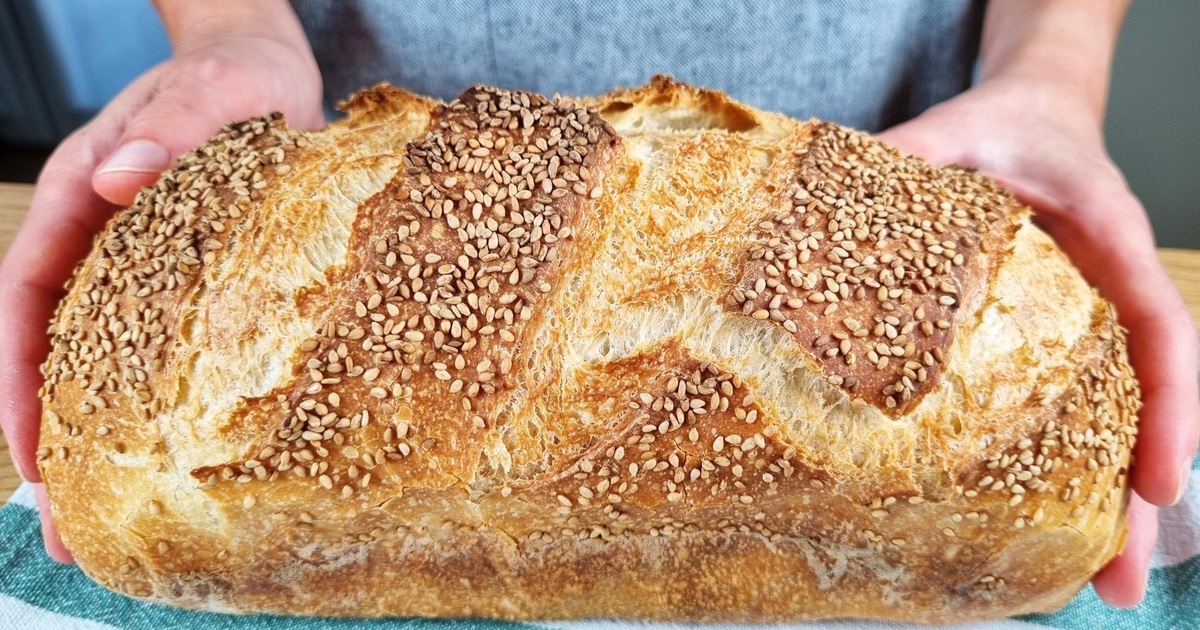
Super Thin Crispy Crust Sandwich Bread
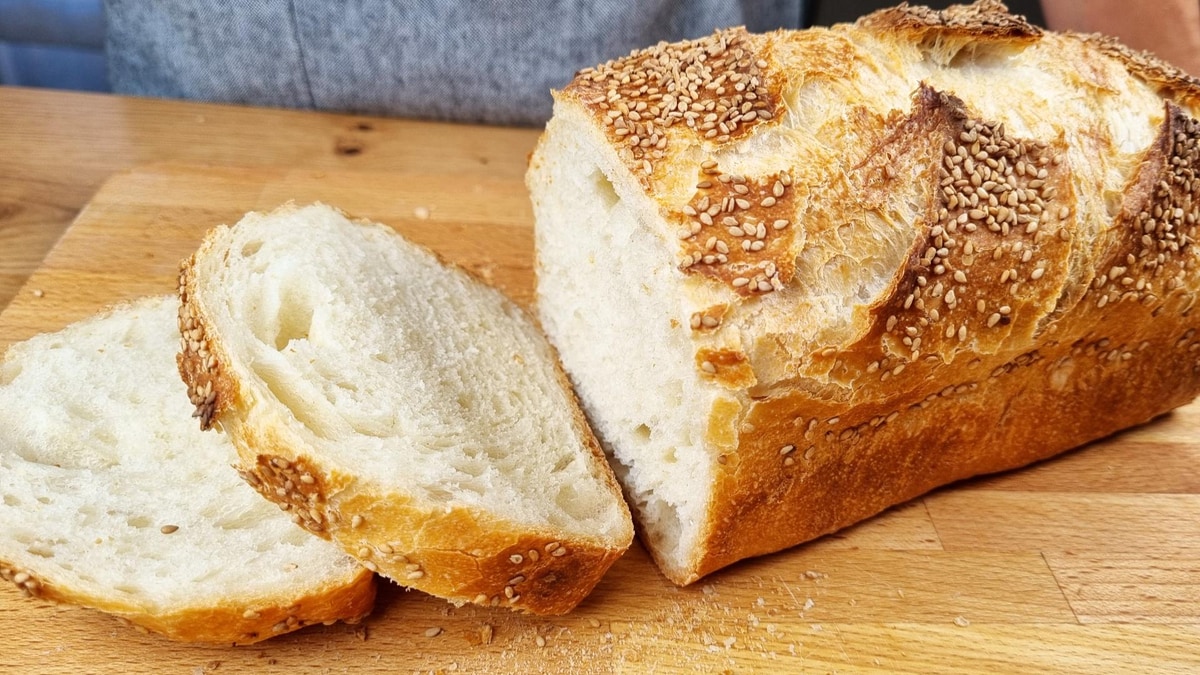
The crust is super thin and crispy, the inside is as soft as a cloud!
Meet my new creation! This incredible sandwich bread has the crust is super thin and crispy while the inside is as soft as a cloud! The secret is a touch of yogurt that creates the most amazing texture. My sandwiches never tasted better and all of that without any additives! It's so pretty! and when you hear those hollow taps, you know it's perfectly baked. I could do this all day! because this bread is pure perfection.
Meet My New Creation - Super Thin Crispy Crust Sandwich Bread
Watch the complete process of making this amazing yogurt-enriched sandwich bread
Simple Ingredients
- ⅔ cup Water(160 ml)
- ¼ cup Plain yogurt(60 g - the secret ingredient!)
- 1 tsp. Fresh yeast(3 g, or ½ tsp. (2 g) dry yeast)
- 1 tsp. Sugar(A tiny bit of sugar to start the yeast)
- 1 tbsp. Vegetable oil(For extra softness)
- 2 ½ cups Bread flour(320 g)
- 1 tsp. Salt(6 g)
- 2 tbsp. Sesame seeds(Or any seeds you like, for topping)
Step-by-Step Sandwich Bread Method
- 1Prepare the base: In a large bowl, combine water, plain yogurt, fresh yeast, and a tiny bit of sugar to start the yeast (optional). Mix until completely dissolved.
- 2Add oil and dry ingredients: Add vegetable oil, bread flour, and salt to the mixture. Mix until there's no more dry flour - just mix, no need to... knead! The dough will be soft and manageable.
- 3First rest: Cover and let rest for 30 minutes. This allows the flour to hydrate and the yogurt to work its magic.Timer Available:First Rest (30:00)
- 4First stretch and fold: With a wet hand, stretch the 4 sides of the dough and fold to the center. This gentle technique develops perfect structure.
- 5The lift and slap: Lift the dough and slap it back into the bowl. I call this technique 'lift and slap' - it's essential for developing the right texture.
- 6Second rest: Cover and let rest for 30 minutes. You'll notice the dough becoming smoother and more elastic.Timer Available:Second Rest (30:00)
- 7Repeat the process: Repeat the steps from before - stretch and fold the 4 sides, lift and slap once more. Now the dough is very elastic, great! This is exactly what we want to see.
- 8Main rise: Leave to rise until it has doubled in size, usually about 2 hours. This is where the magic happens!Timer Available:Main Rise (2:00:00)
- 9Prepare for shaping: Sprinkle flour on work surface. Turn out the risen dough - it should be beautifully developed.
- 10Shape for loaf: Fold the dough in half, then gently flatten the dough to form a rectangle. This creates the base for our sandwich loaf.
- 11Roll and shape: Roll and press down with the tips of your fingers, working from one end to create a tight loaf shape. Watch my video for visual guidance.
- 12Seal the loaf: Seal the edge by pinching it. Close well to ensure the loaf holds its shape during baking.
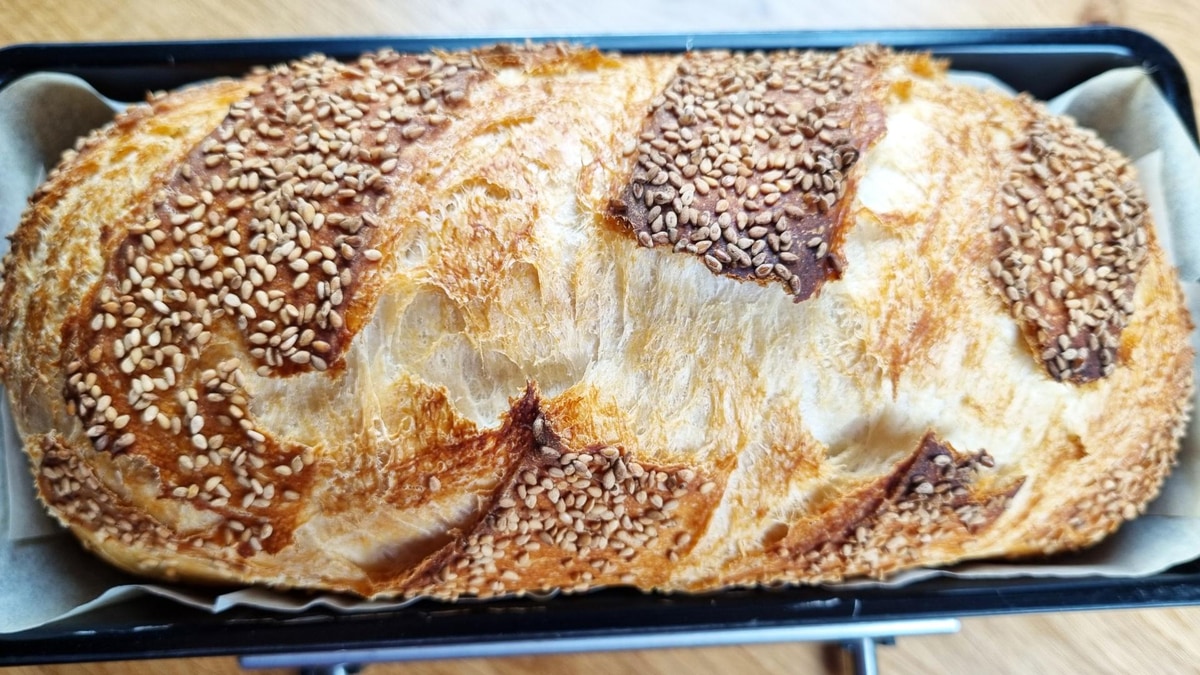
- 13Transfer to pan: Move it to the loaf pan. I use baking paper to prevent sticking - this makes removal so much easier!
- 14Final rise: Cover with a towel and let rise for 30 minutes until puffy and ready.Timer Available:Final Rise (30:00)
- 15Prepare for baking: Preheat oven to 430°F (220°C). Brush with water to help the seeds stick. Sprinkle the top with sesame seeds or any seeds you like.
- 16Score: Score the bread with a sharp blade or knife. Make confident cuts for proper expansion.
- 17The secret trick: Cover with another loaf pan! This creates the perfect steam environment for that crispy crust.
- 18Steam baking: Bake at 430°F (220°C) for 25 minutes covered. This develops that amazing super thin, crispy crust.430°F (220°C)Timer Available:Steam Baking (25:00)
- 19Final baking: Remove the top pan and bake for 10 more minutes until golden brown.Timer Available:Final Baking (10:00)
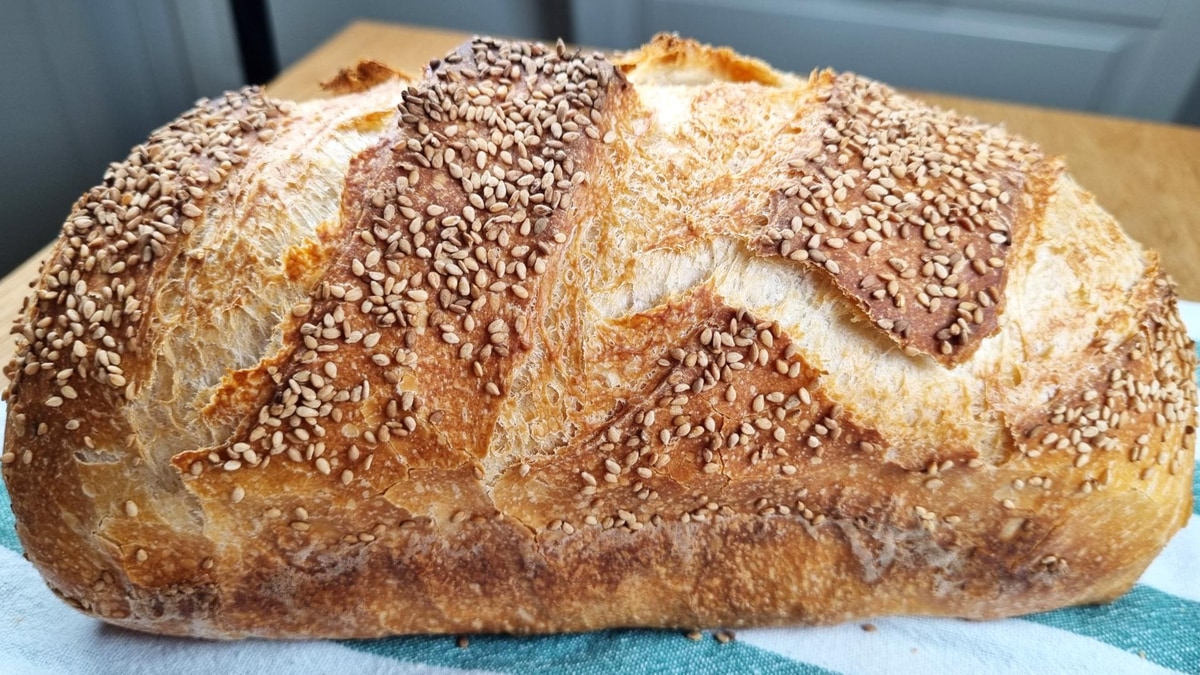
- 20Cool properly: Take the bread out of the pan and cover with a towel to let cool. It's so pretty! Listen for hollow taps - that means it's perfectly baked!
Watch the Video Tutorial
See every step in action! Follow along with the complete video guide for perfect results.
You Might Also Like
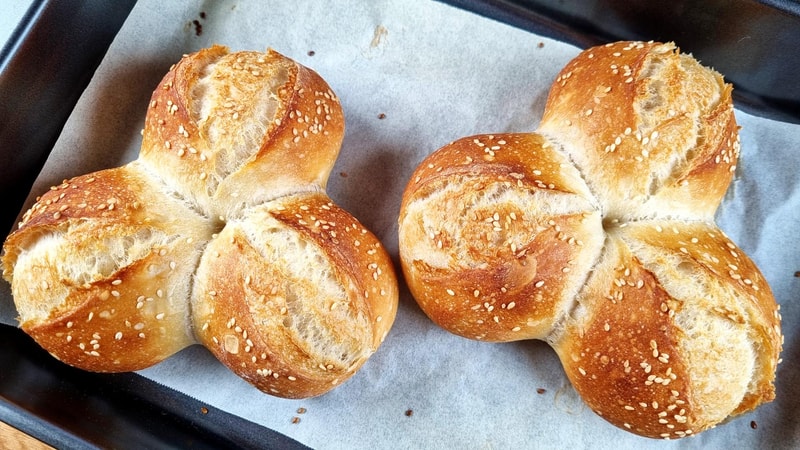
Sharing Bread Rolls - 6 Perfect Rolls
Amazingly tasty bread rolls arranged in groups for easy sharing. Crispy, flaky outside with a soft and tasty inside. Perfect for gatherings!
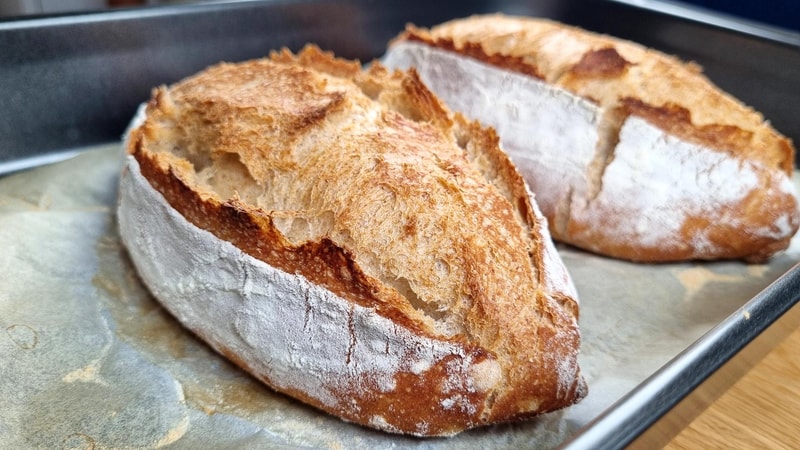
Whole Wheat Bread - Crispy Crust & Soft Inside
Amazing whole wheat bread with crispy crust and incredibly soft inside. This therapeutic bread-making process creates perfect whole wheat goodness with minimal effort.