artisansame day-breadsbeginner friendly

Whole Wheat Bread Rolls
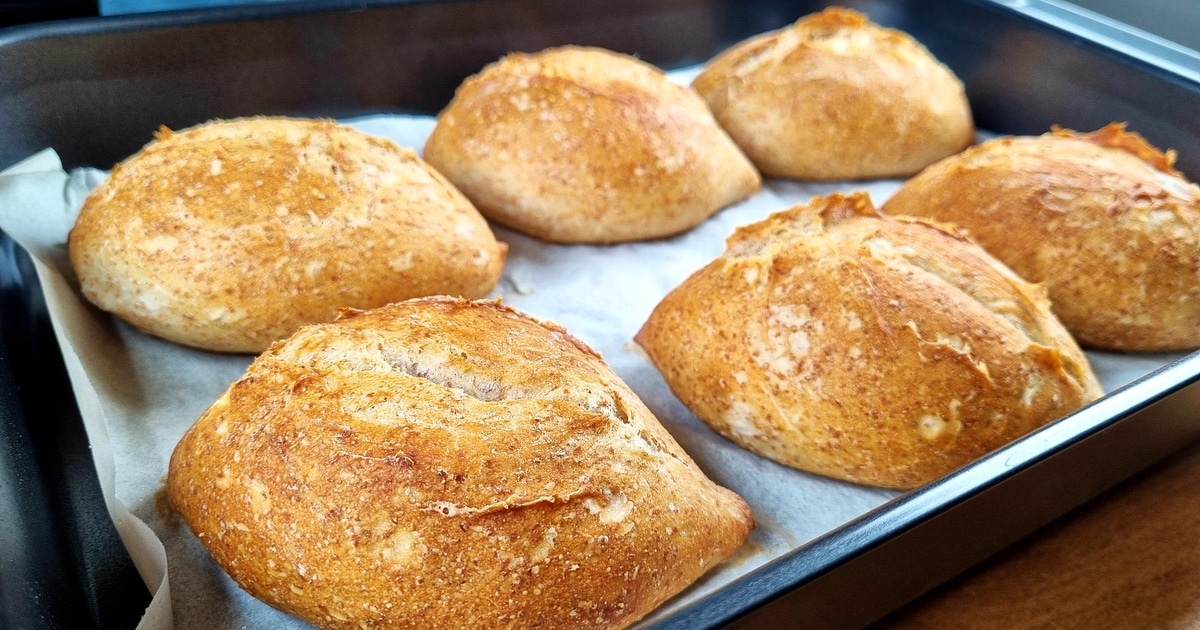
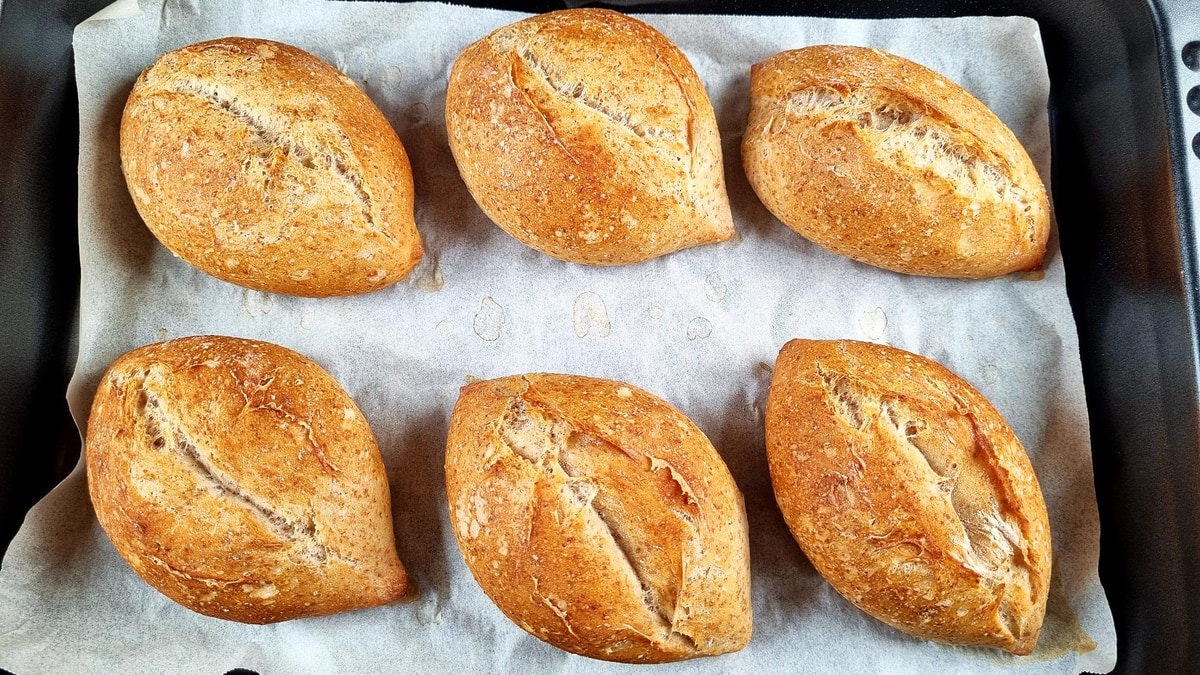
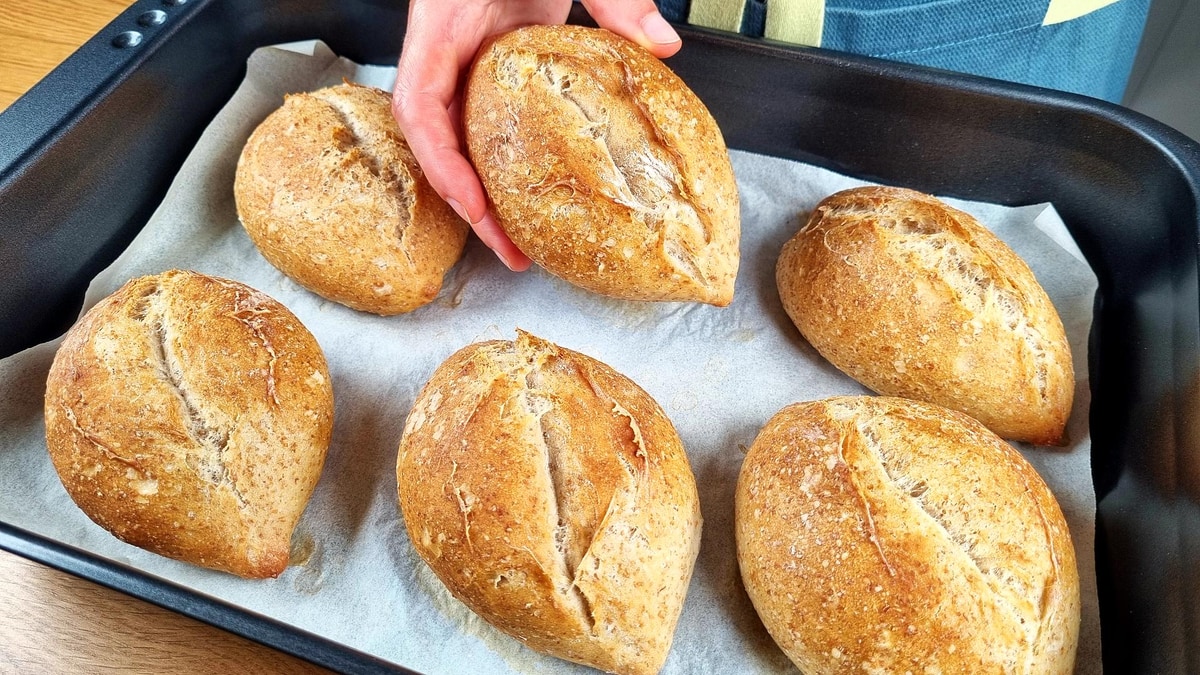
Beautiful wheat grain shape - crispy outside, amazingly soft inside
Crispy, airy, absolutely perfect! These stunning whole wheat bread rolls feature a beautiful wheat grain shape that makes them both visually striking and delicious. The whole wheat flour adds incredible taste and a beautiful golden color to the soft, airy crumb. So soft inside! with a crispy exterior that literally sings as it cools. This fun-to-shape bread is perfect for beginners and delivers professional-looking results every time.
Whole Wheat Bread Rolls - Beautiful Wheat Grain Shape
Follow along with this detailed video guide to master the wheat grain shaping technique and create these beautiful whole wheat rolls
Follow along with the video for a complete visual guide! You'll see exactly how to achieve that signature wheat grain shape using two different shaping methods. Watch as I demonstrate the gentle mixing technique, the 'lift and slap' method, and the therapeutic shaping process that creates these stunning rolls. The video shows every detail so you can achieve perfect results!
Simple Whole Wheat Ingredients
- 1 cup Water(230 ml)
- ¾ tsp. Fresh yeast(3 g, or ½ tsp. (2 g) dry yeast)
- 1 ½ cups Bread flour(220 g)
- ¾ cup Whole wheat flour(100 g - makes it so tasty!)
- 1 ¼ tsp. Salt(7 g)
Step-by-Step Whole Wheat Roll Instructions
- 1Dissolve the yeast: Mix water with fresh yeast (or dry yeast) until completely dissolved. This ensures even distribution throughout the dough.
- 2Combine flours and salt: Add bread flour, whole wheat flour, and salt to the yeast mixture. Mix until there's no more dry flour visible - just mix, no need to knead!
- 3First rest: Cover and let rest for 30 minutes. A timer will remind you of the next step.Timer Available:First Rest (30:00)
- 4Stretch and fold: With a wet hand, stretch the 4 sides of the dough and fold them to the center. This gentle technique develops perfect gluten structure.
- 5Lift and slap technique: Lift the dough and slap it back into the bowl. I call this technique 'lift and slap' - it builds strength without aggressive kneading.
- 6Second rest: Cover and let rest for 30 minutes. The dough becomes much more elastic during this time.Timer Available:Second Rest (30:00)
- 7Repeat stretch and fold: Stretch and fold the 4 sides again. The dough is now so much more elastic! Lift and slap once more. The dough is now ready for the final rise.
- 8Final rise: Let rise until it doubles in size - it usually takes about 2 hours.Timer Available:Final Rise (2:00:00)
- 9Prepare for shaping: Sprinkle flour on work surface. Fold the dough so it's easier to cut. Bubbles are always a good sign! Divide into 6 equal parts.
- 10First shaping method: Flatten gently, then roll tightly. Fold into a ball and pinch the edge to seal it. Rub against work surface to seal the ball properly. Set aside.
- 11Second shaping method: Flatten gently, then fold into a ball. Pinch to seal, then give it an extra seal by rubbing against the work surface.
- 12Rest the shaped balls: Let them rest for 10 minutes uncovered. This relaxes the gluten for easier final shaping.Timer Available:Ball Rest (10:00)
- 13Create the wheat grain shape: Sprinkle a little flour to prevent sticking. Flatten gently, then press the dough with the heel of your hand to create an indentation down the center.
- 14Roll the wheat grain: Now roll the dough, applying more pressure on the ends as you roll. This creates the amazing wheat grain shape with tapered ends. Place on the baking pan, seam up.
- 15Final proof: Cover with a towel and let rise for 30 minutes.Timer Available:Final Proof (30:00)
- 16Prepare for baking: Preheat oven to 430°F (220°C). Sprinkle a little water around the bread on the baking sheet to create steam.430°F (220°C)
- 17Create steam environment: Cover with another tray of the same size. This creates the perfect steam chamber for developing that crispy, singing crust.
- 18Steam baking: Bake at 430°F (220°C) for 20 minutes covered. The steam is essential for that perfect crust development.430°F (220°C)Timer Available:Covered Baking (20:00)
- 19Final baking: Remove the top tray and bake for 10 more minutes. They look great! The whole wheat adds such a beautiful golden color.Timer Available:Final Baking (10:00)
- 20Listen to them sing: They sing as small cracks form on the crust - the best song in the world! Hollow taps mean it's perfectly baked.


Watch the Video Tutorial
See every step in action! Follow along with the complete video guide for perfect results.
You Might Also Like

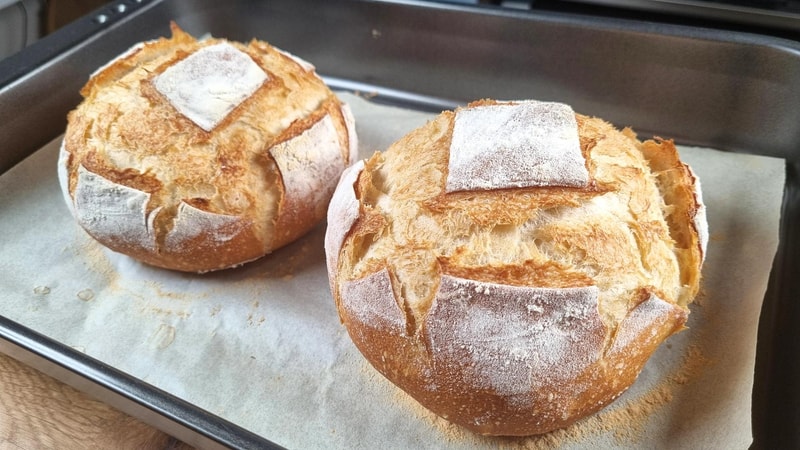
Yogurt Bread with Rustic Cut
Two golden loaves with crispy, flaky crust that shatters just right. So light and tender inside - this bread is an unforgettable experience! Soft as feathers with perfect texture.

Olive Focaccia - Same Day Recipe
Thin, crispy crust with soft, airy interior and incredible olives. This same-day focaccia is quick to make and incredibly delicious with authentic Ligurian flavors.