artisansame day-breadsbeginner friendly
Crispy, Airy, Absolutely Perfect Artisan Bread
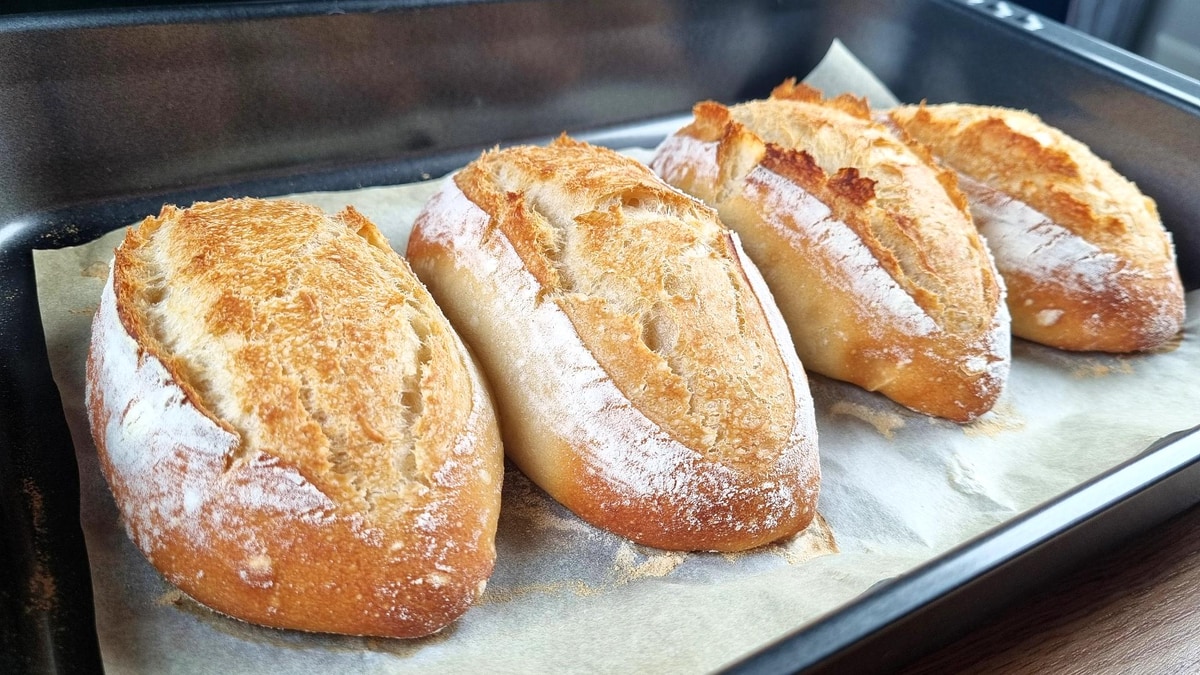
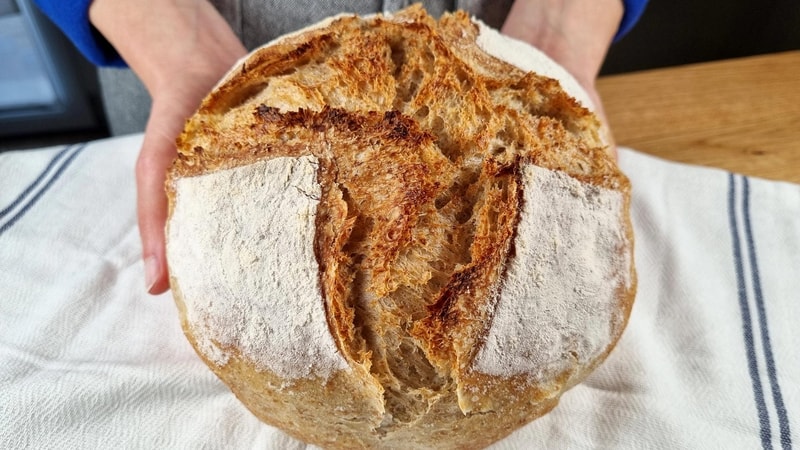
This bread is absolutely amazing! The crust sings - crispy, airy, absolutely perfect
This bread is absolutely amazing! When you hear the crust sings with those beautiful crackling sounds, you know you've created something special. Crispy, airy, absolutely perfect - this simple 4-ingredient artisan bread delivers everything you want in homemade bread. The interior is so soft! while the exterior develops that irresistible crispy texture. Just mix, no need to knead! - this gentle approach creates incredible results with minimal effort. Follow along with the [video guide](https://youtu.be/opwsX1AdcSo) for visual instruction on this therapeutic bread-making journey.
Crispy, Airy, Absolutely Perfect Artisan Bread - Simple 4-Ingredient Magic
Watch the complete process of making this amazing artisan bread with just 4 simple ingredients
Simple 4-Ingredient Magic
- 1 cup Water(220 ml)
- ¾ tsp. Fresh yeast(3 g, or ½ tsp. (2 g) dry yeast)
- 2 ½ cups Bread flour(320 g)
- 1 tsp. Salt(6 g)
Step-by-Step Artisan Bread Method
- 1Mix the base: Combine water with fresh yeast (or dry yeast) and mix until completely dissolved. This starts our amazing bread journey!
- 2Add flour and salt: Add bread flour and salt to the mixture. Mix until there's no more dry flour - just mix, no need to knead!
- 3First rest: Cover and let rest for 30 minutes. This allows the flour to hydrate and begin developing structure.Timer Available:First Rest (30:00)
- 4Stretch and fold technique: With a wet hand, stretch the 4 sides of the dough and fold to the center. This gentle technique builds strength without aggressive kneading.
- 5Lift and slap: Lift the dough and slap it back into the bowl. I call this technique 'lift and slap' - it's essential for developing the perfect texture.
- 6Second rest: Cover and let rest for 30 minutes.Timer Available:Second Rest (30:00)
- 7Repeat the process: Stretch and fold the 4 sides again, then lift and slap once more. The dough is now much more elastic - exactly what we want to see!
- 8Final rise: Let rise until it doubles in size - this usually takes about 2 hours. Now the dough is ready for the final transformation.Timer Available:Final Rise (2:00:00)
- 9Prepare for shaping: Sprinkle flour on work surface. Fold the dough so it's easier to cut. Bubbles are always a good sign! Divide in half.
- 10First shaping: For each piece: brush off any excess flour, flatten very gently, then roll tightly. Roll in the opposite direction to obtain a ball, then seal the ball. Set aside - this process will strengthen the loaves.
- 11Rest the shaped dough: Let them rest for 10 minutes uncovered. This allows the gluten to relax before final shaping.Timer Available:Shape Rest (10:00)
- 12Final shaping: Gently flatten each loaf, then roll tightly and seal the ends. Position on a towel seam up.
- 13Final proof: Cover with a towel and let rise for 30 minutes.Timer Available:Final Proof (30:00)
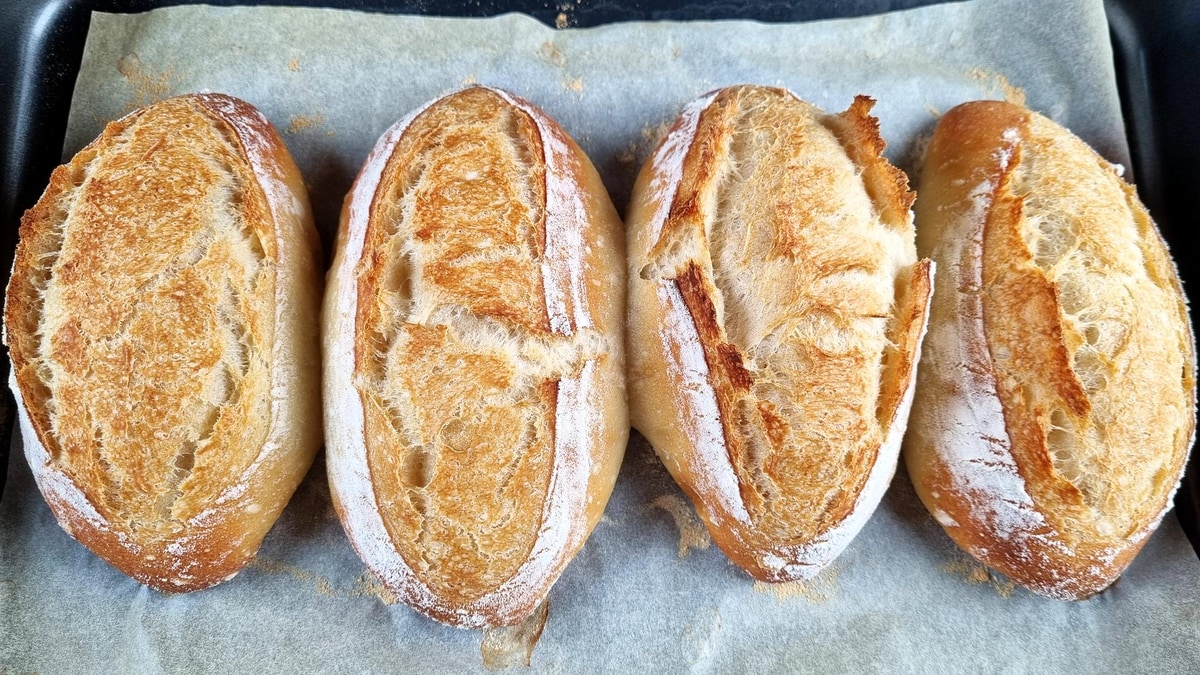
- 14Prepare for baking: Preheat oven to 430°F (220°C). Transfer to the baking pan seam down. Lightly sprinkle flour over the loaves and smooth with your hand. Score each loaf with a sharp blade or knife.430°F (220°C)
- 15Create steam: Sprinkle a little water around the loaves (not directly on them). Cover with another tray of the same size for perfect steam environment.
- 16Steam baking: Bake at 430°F (220°C) for 20 minutes covered. This creates that incredible crust development.430°F (220°C)Timer Available:Steam Baking (20:00)
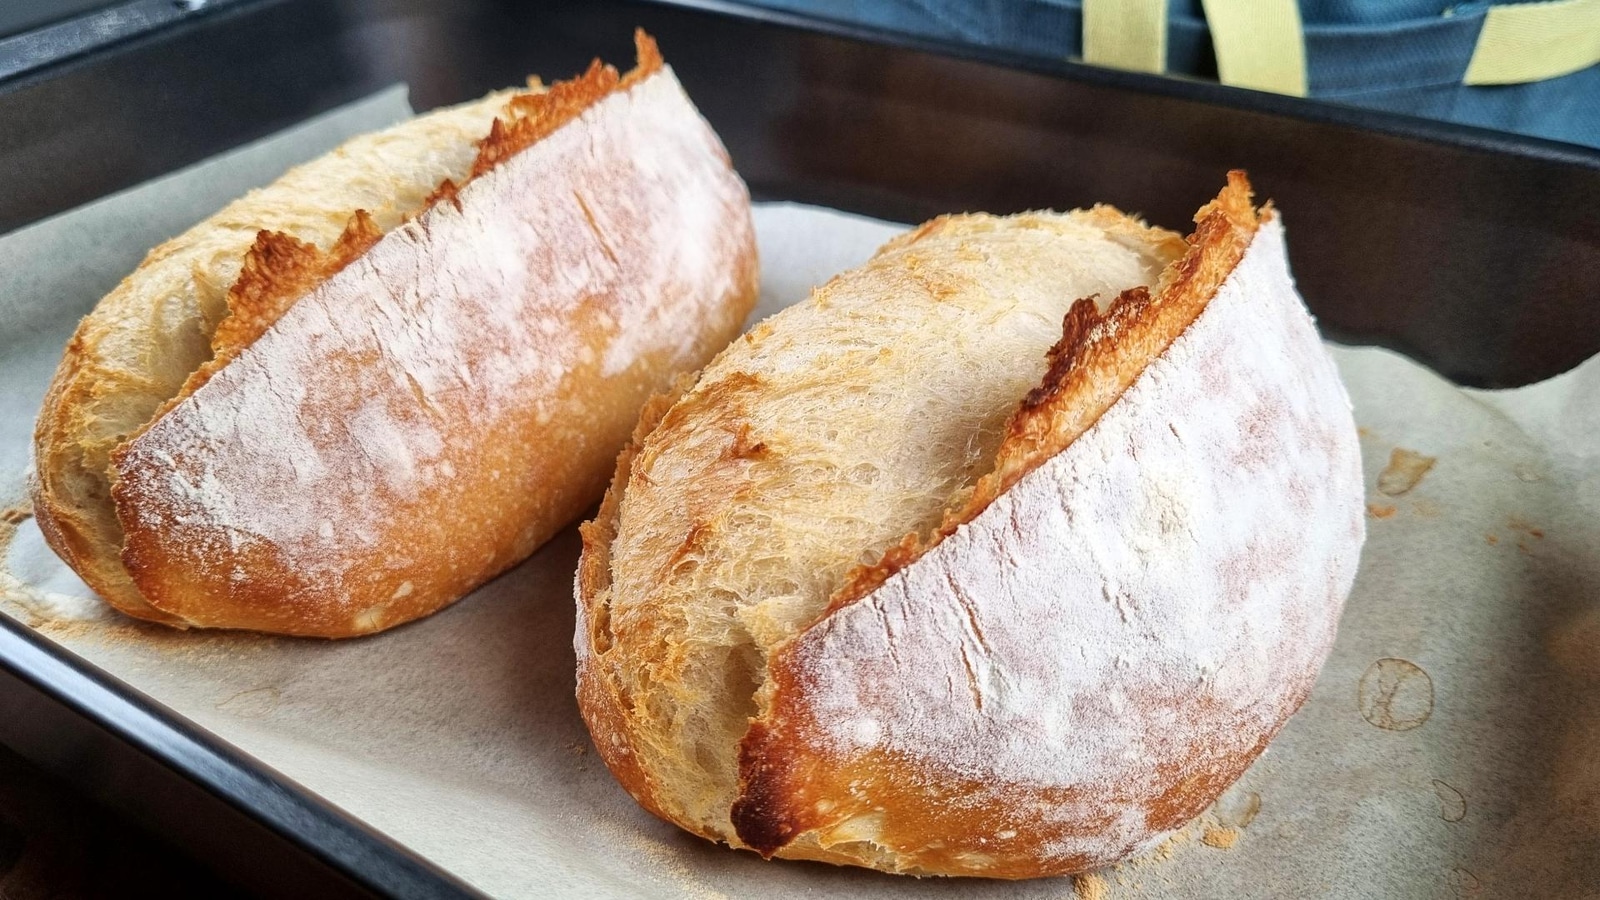
- 17Final baking: Remove the top tray and bake for 10 more minutes. They look great! Listen to them sing as small cracks form on the surface - the best sound in the world!Timer Available:Final Baking (10:00)
- 18Test and enjoy: Hollow taps means it's perfectly baked - as crispy as it gets! Now let's see inside - crispy crust, soft inside. There's only one thing missing: the butter!
Watch the Video Tutorial
See every step in action! Follow along with the complete video guide for perfect results.
You Might Also Like
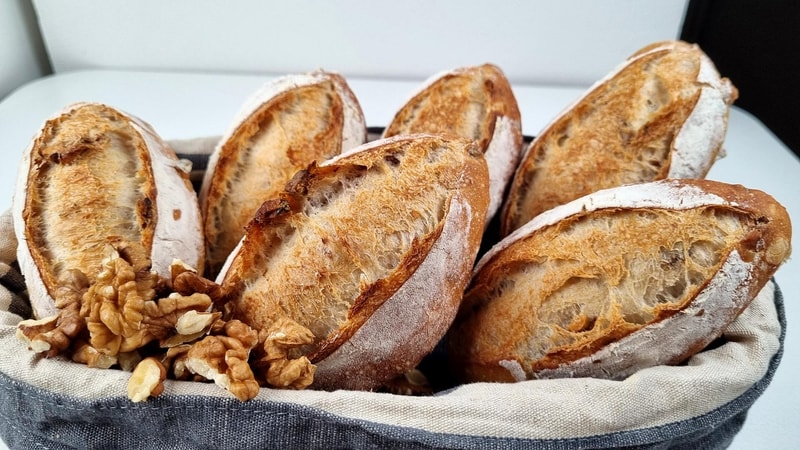
Quick Bread with Walnuts - Crispy Crust & Toasted Nuts
Amazing quick bread rolls with toasted walnuts inside. Crispy crust, soft crumb, and an incredible aroma. No kneading required - just mix, fold, and bake for same-day fresh bread.
Whole Wheat Biga Bread - Amazing Flavor
Super fluffy inside with crispy crust outside and whole wheat flour! This overnight biga starter gives the bread amazing flavor. So soft it's like touching a cloud!